|
|
     aHR0cDovL2ZyZWVzaGlwLmNvLmty aHR0cDovL2ZyZWVzaGlwLmNvLmty
- 브랜드 이름: Viktorovna
- 근원: CN (정품)
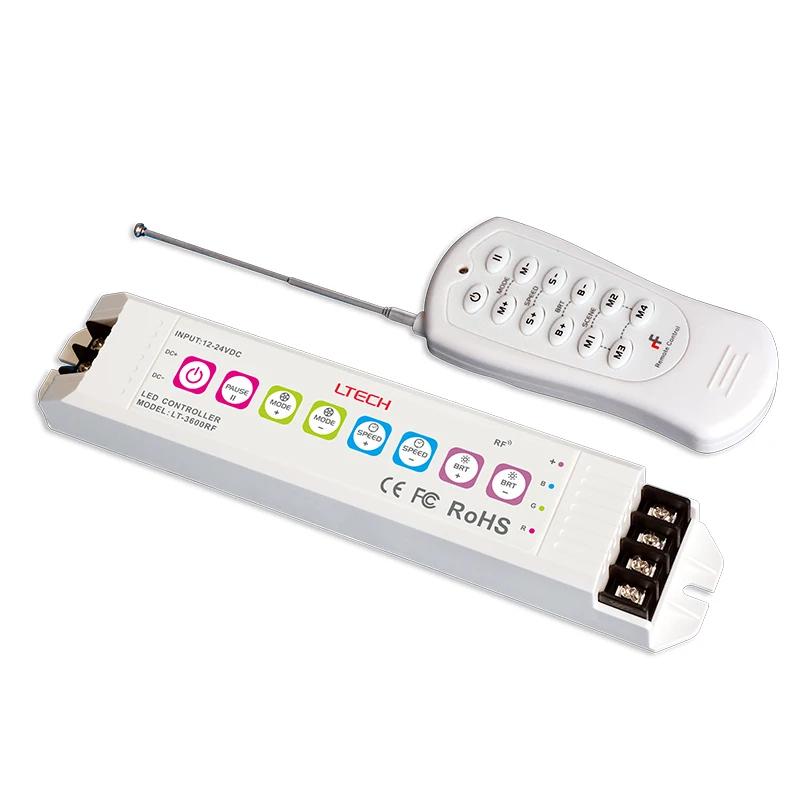
- 전원: DC
- 제어 방법: PIR
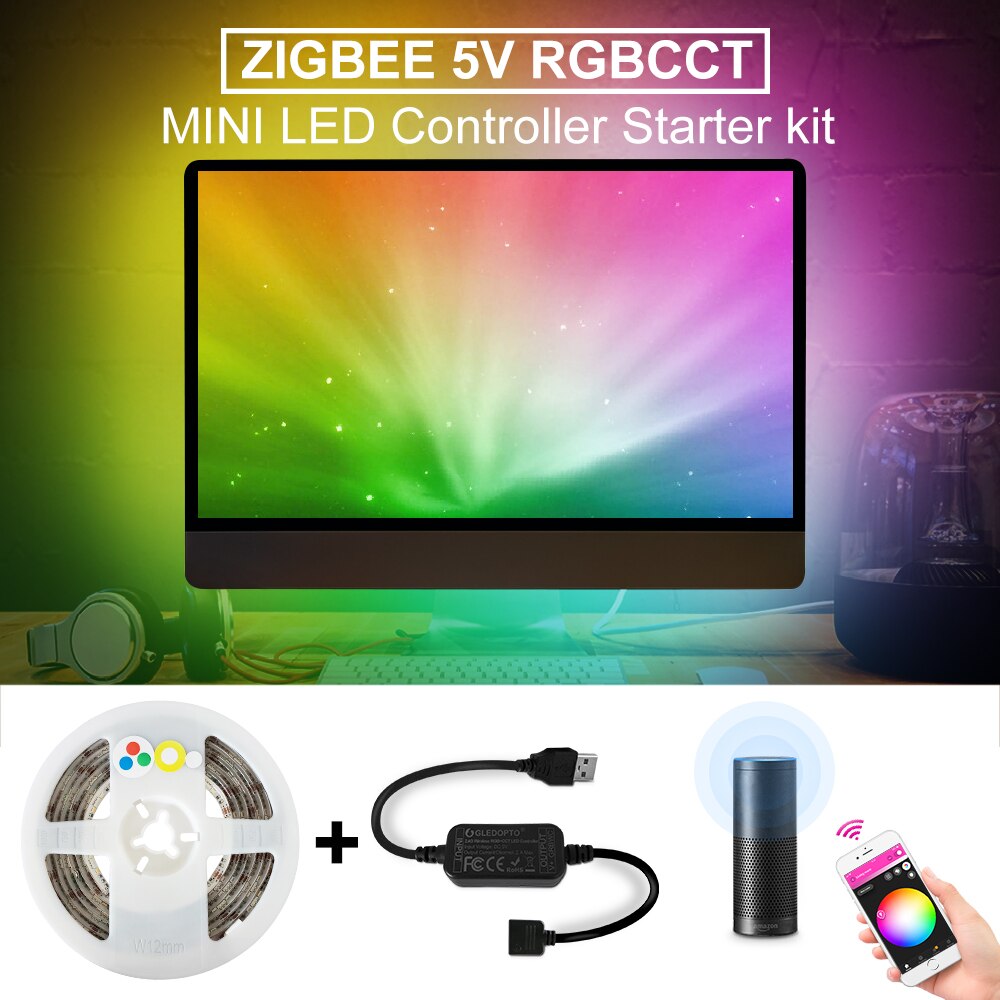
- 모델 번호: led controller
- 특징: PIR
- 원거리: 10m
- 품목 유형: RGB 컨트롤러
- 재료: Metal
- 보증: 3 years
- 와트: rgb controller
- 적합한 조명: ws2812 ws2811
- 증명서: CCC
- 진동 주파수: ladder led strip controller
- 연결 모드: ladder led strip controller
- 최대 부하 전력: ladder led strip controller
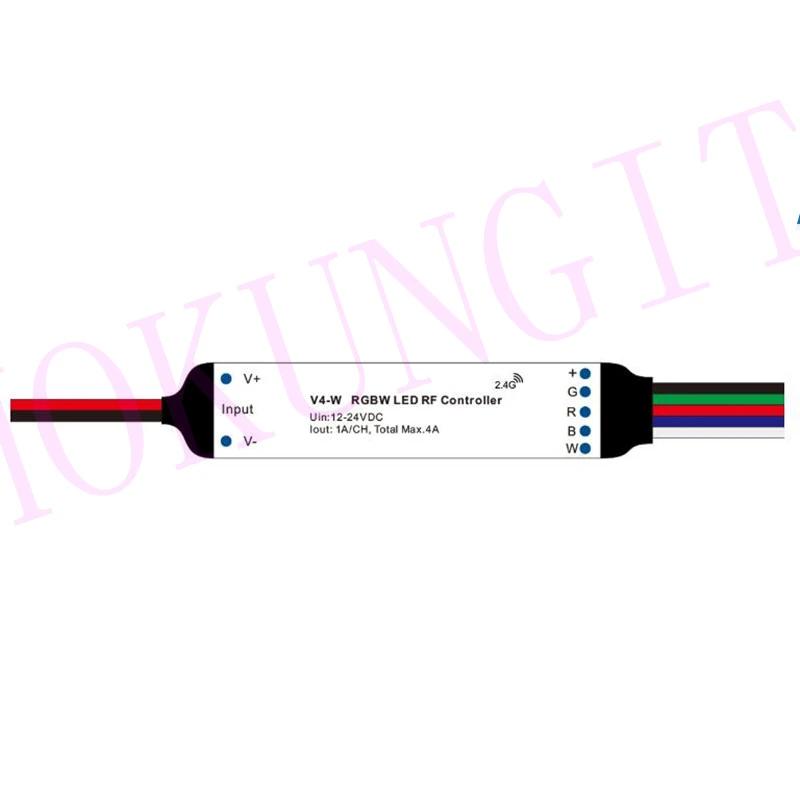
- 전압: 12-24v
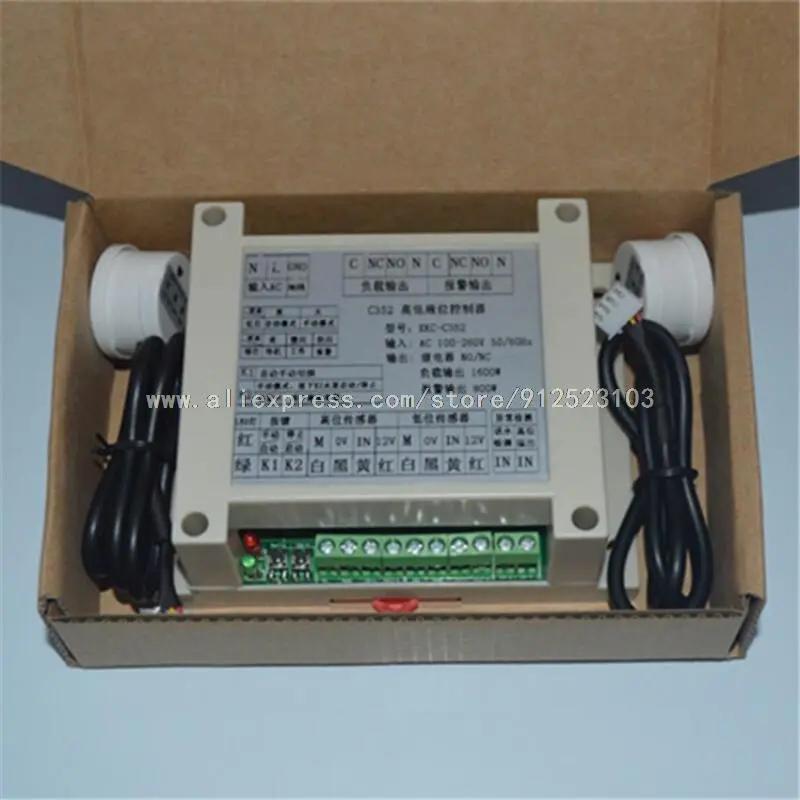
Notes 1 When the lamp is plugged into the controller, find the socket corresponding to the serial number
2 The sensing distance between the sensor and the light-emitting board is about 2 meters, and it needs to be aligned and installed on the same horizontal line, otherwise it cannot be sensed
3 Be sure to connect the positive and negative poles, red positive and black negative. Low voltage connects to 12-24V, not to AC 220V.
4 You can reserve the wire slot position for wiring first, and connect the positive and negative poles of the sensor and the light wire accordingly
5 Sensors: one at the head of the stairs and one at the end of the stairs
Function
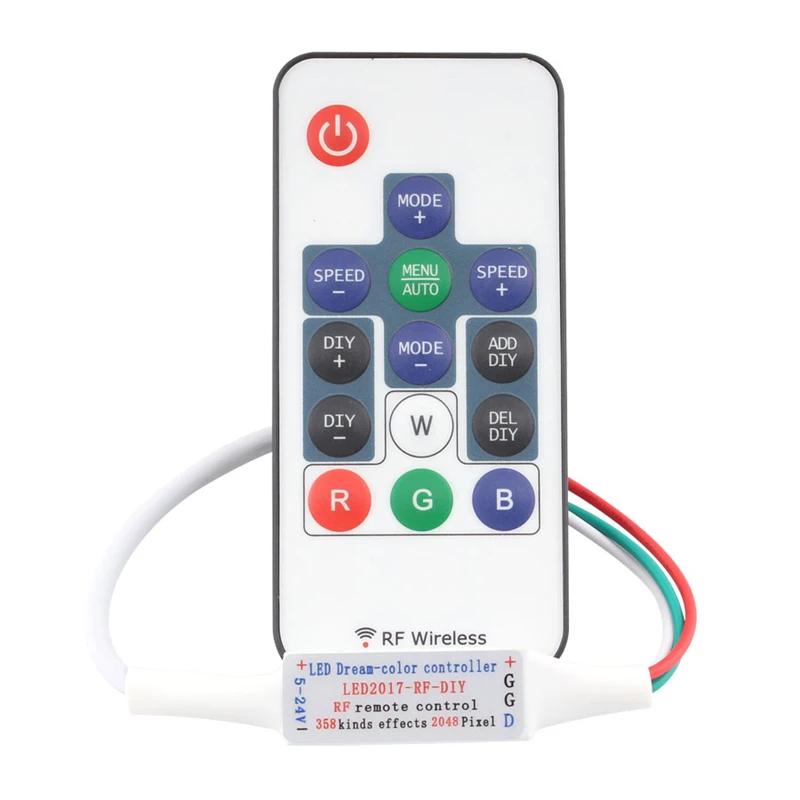
1 Long press to set 1 indicator light flashes red, then press to set
1 to adjust the speed from 1-5 (speed 1 is the slowest, speed 5 is the fastest)
2 Long press to set 1 indicator light flashes red light to stop flashing red light, adjustable 1-5 delays (no one delay +10 seconds, the first delay is 10 seconds, the second delay is 20 seconds)
3 Long press to set 2 the indicator light flashes red, then press to set 1 to set the number of stair steps (press to set 1 to increase the number of steps, and to set 2 to decrease the number of steps)
4 When the light is on, press Set 2 to adjust the brightness from 1-5 levels (1 level is the darkest and 5 levels are the brightest) 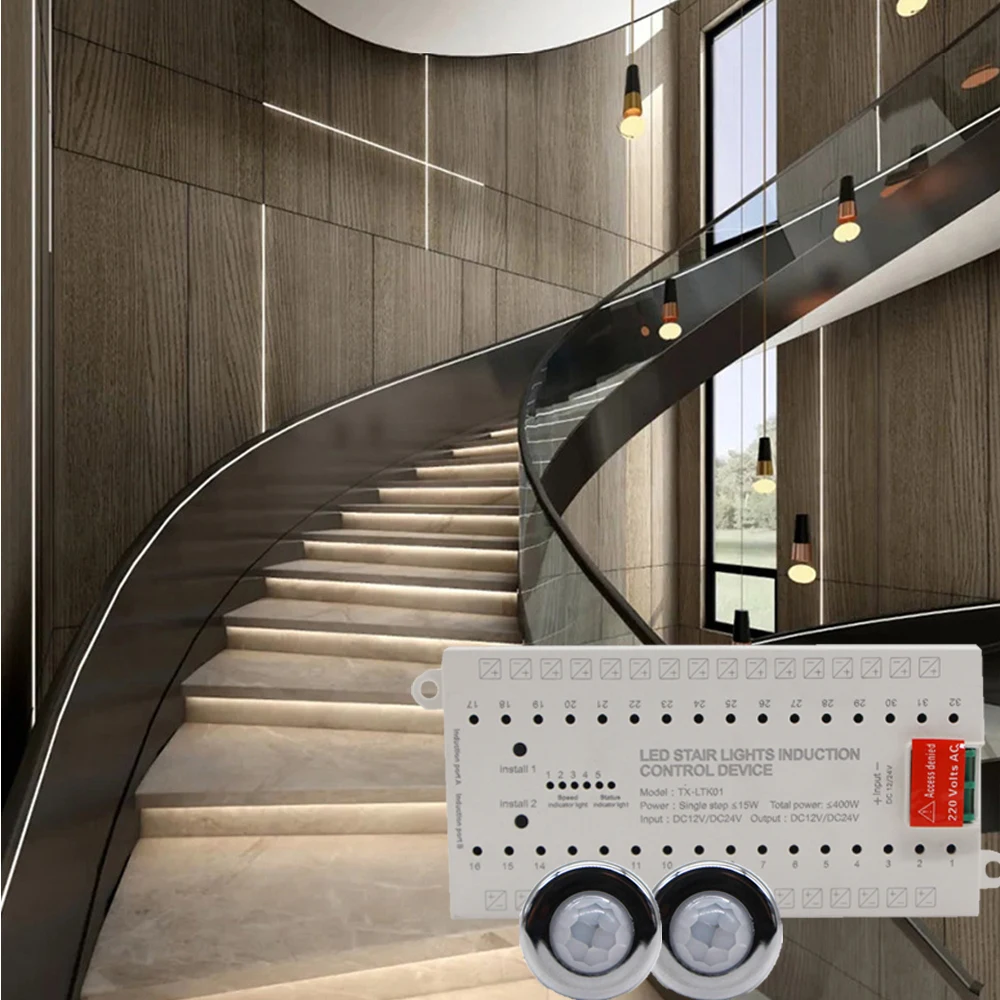 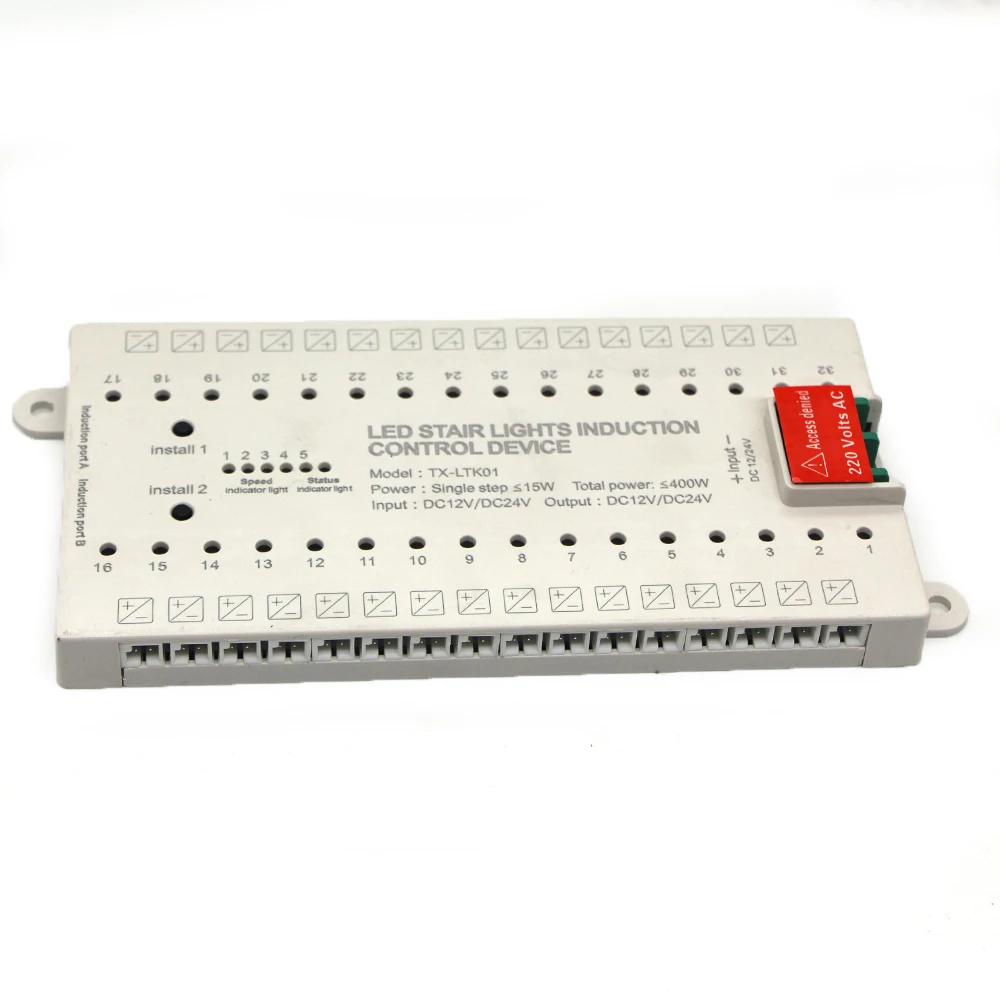 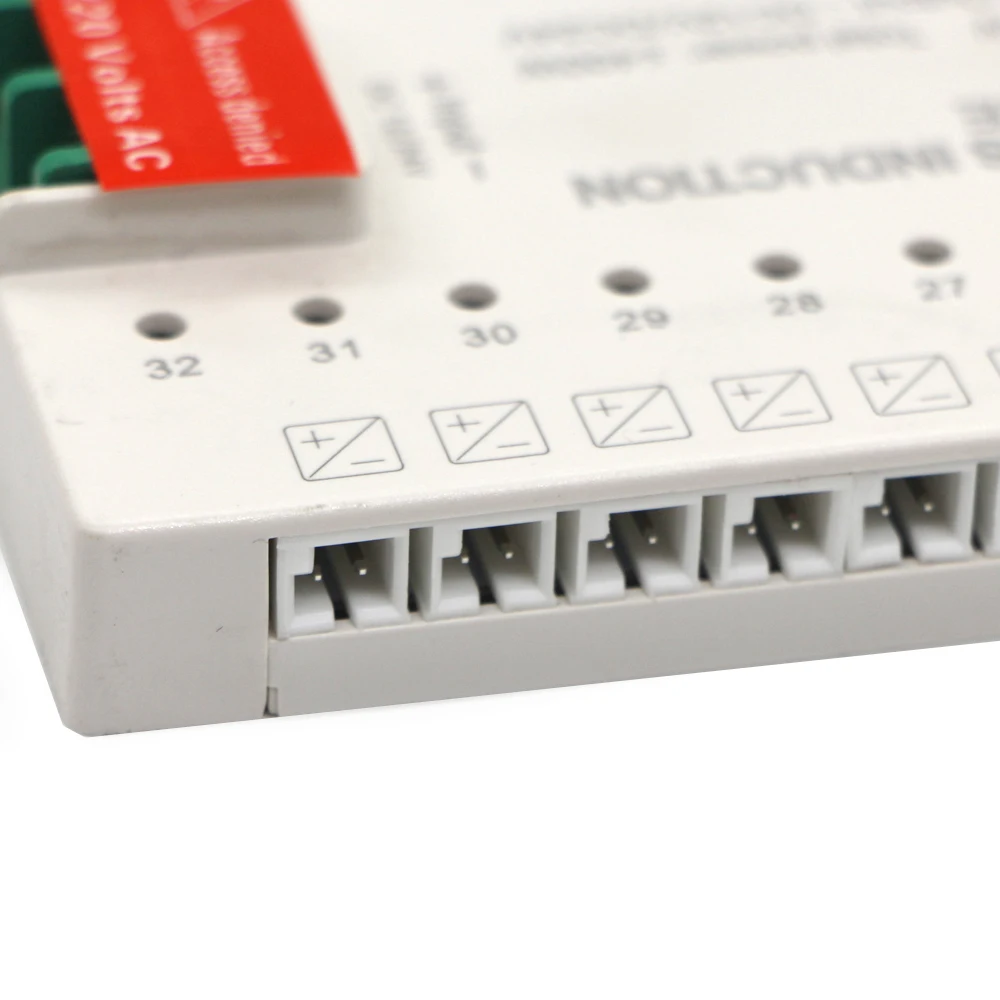 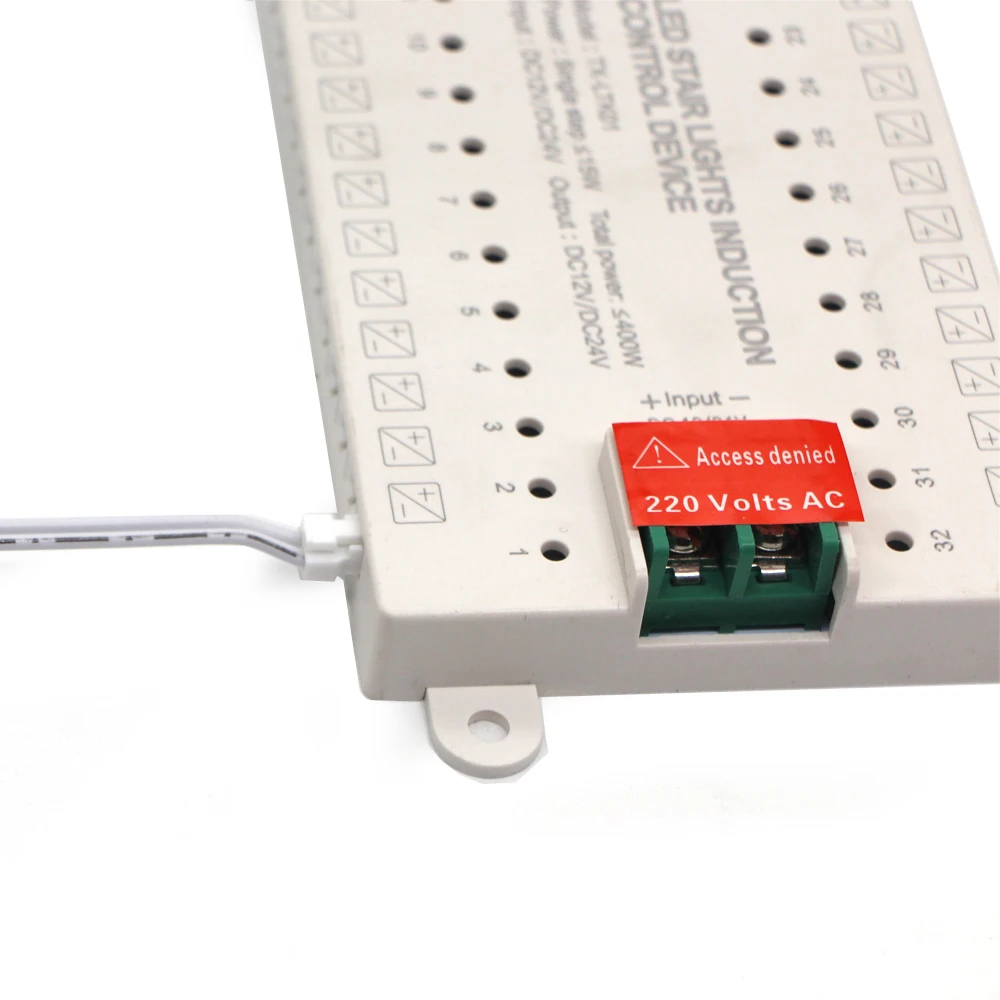 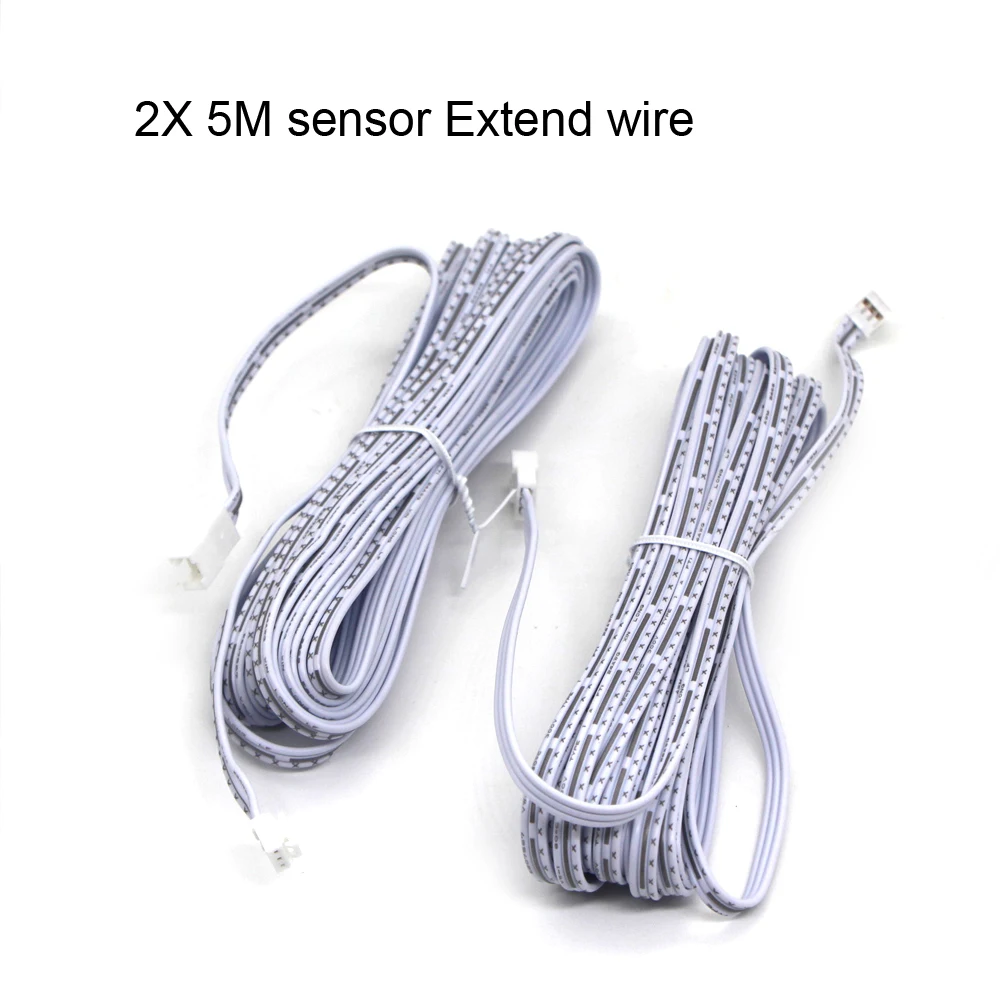 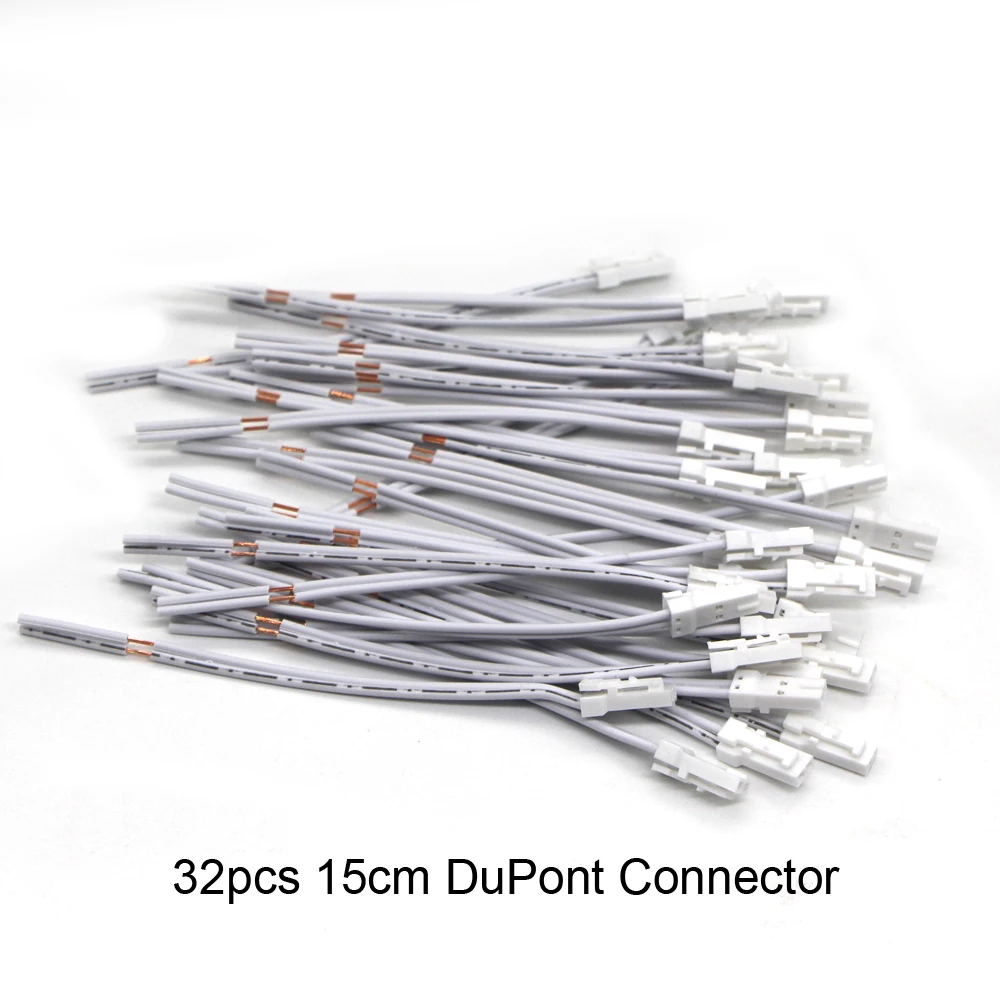 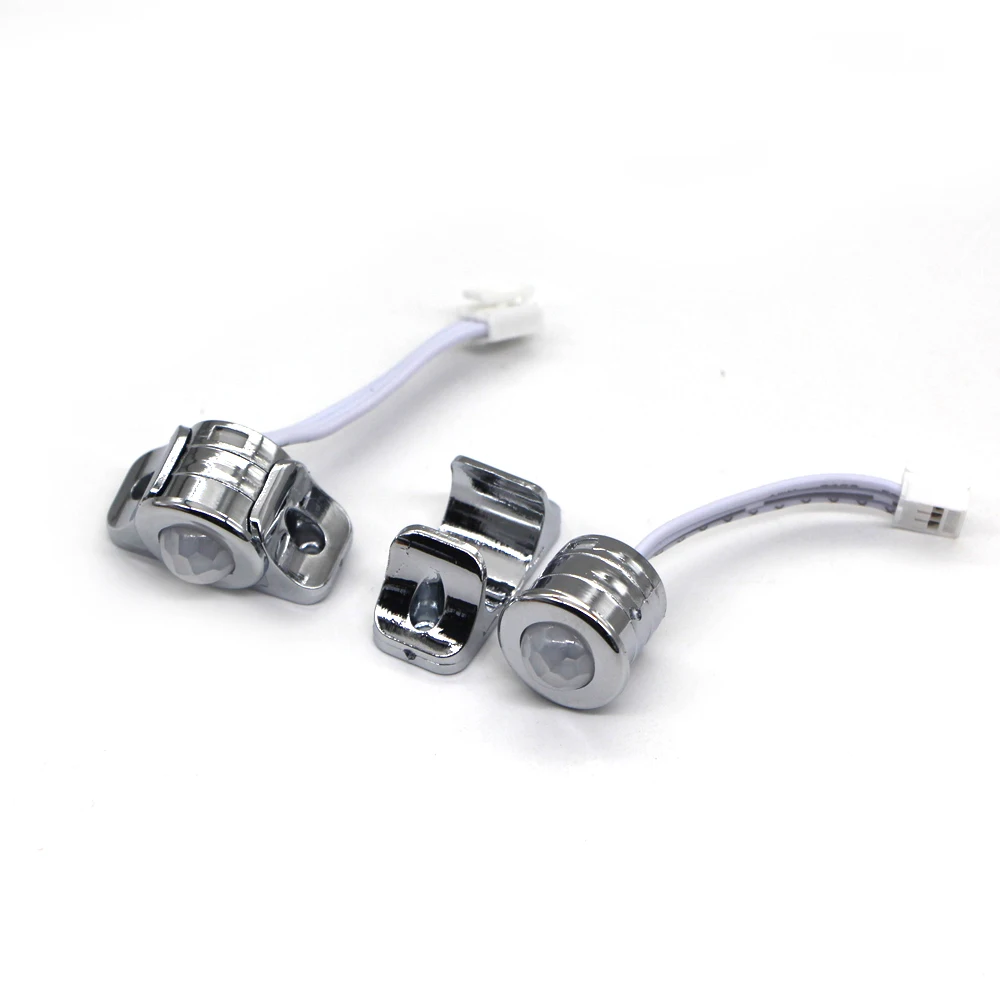 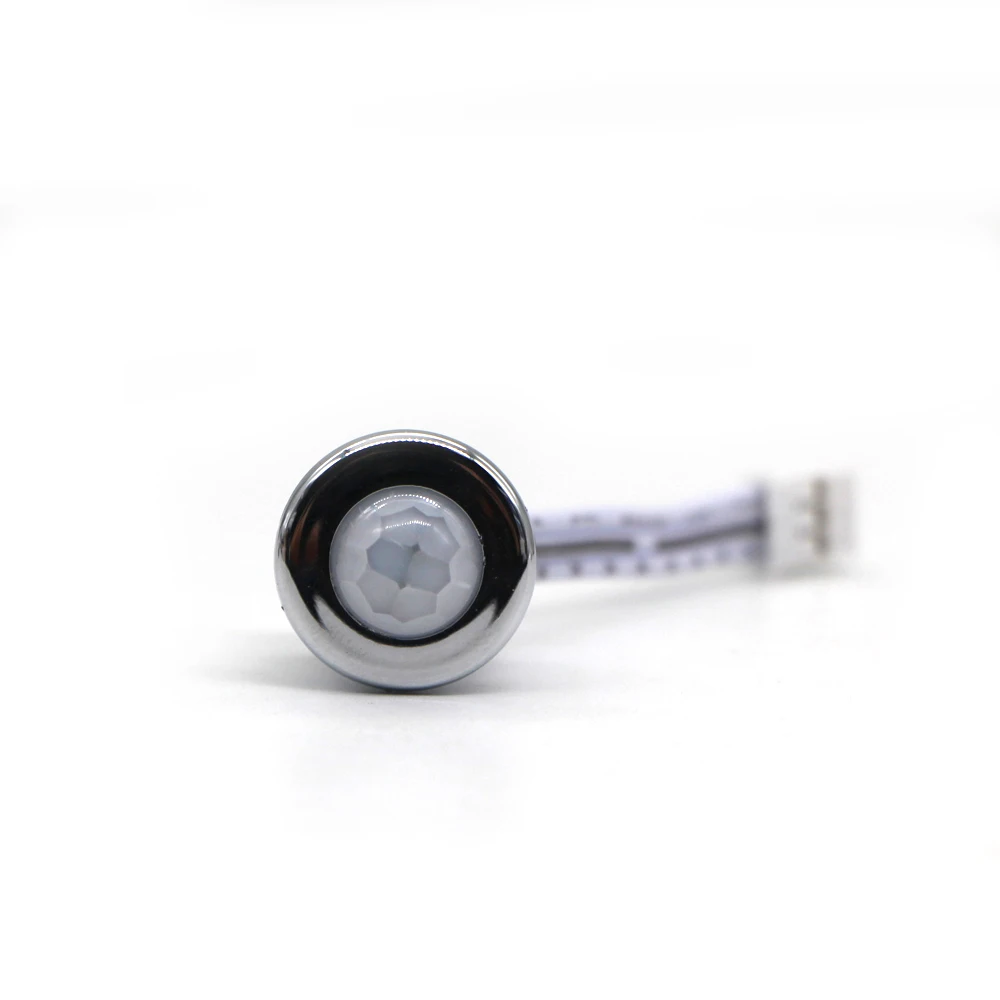 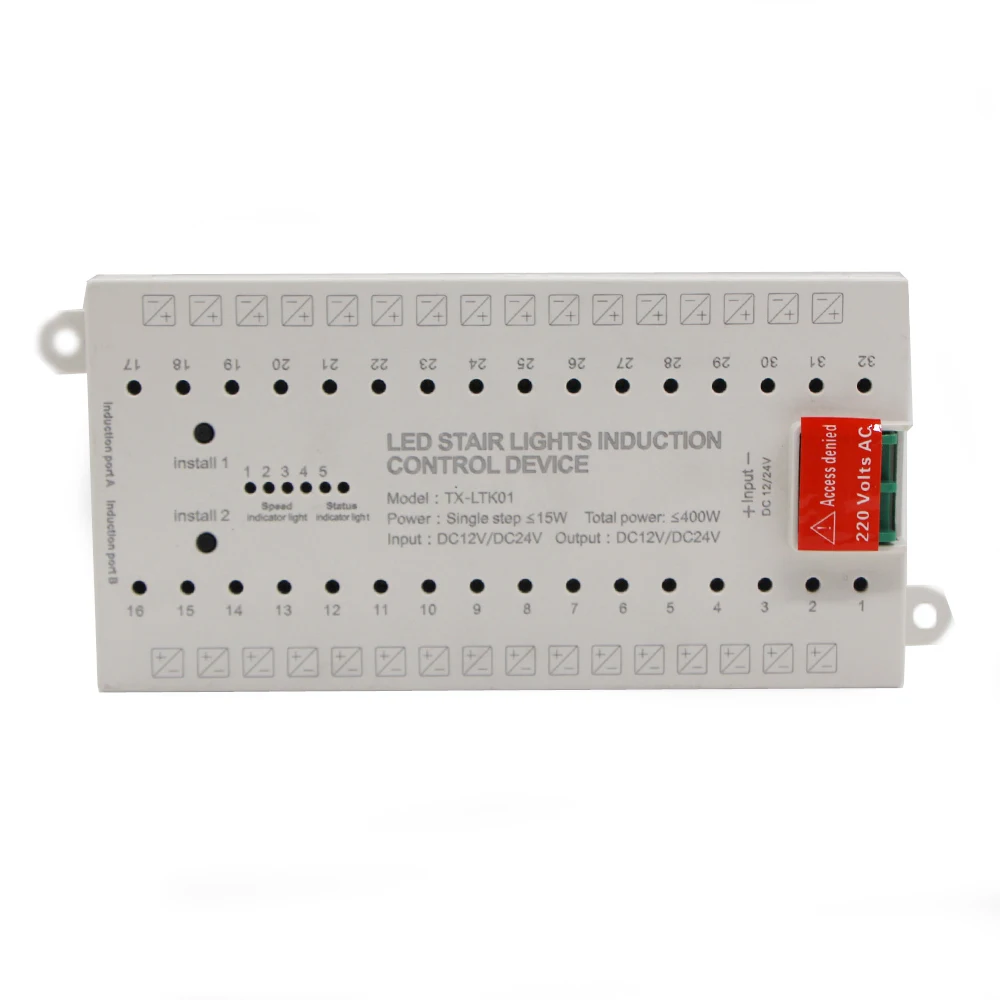 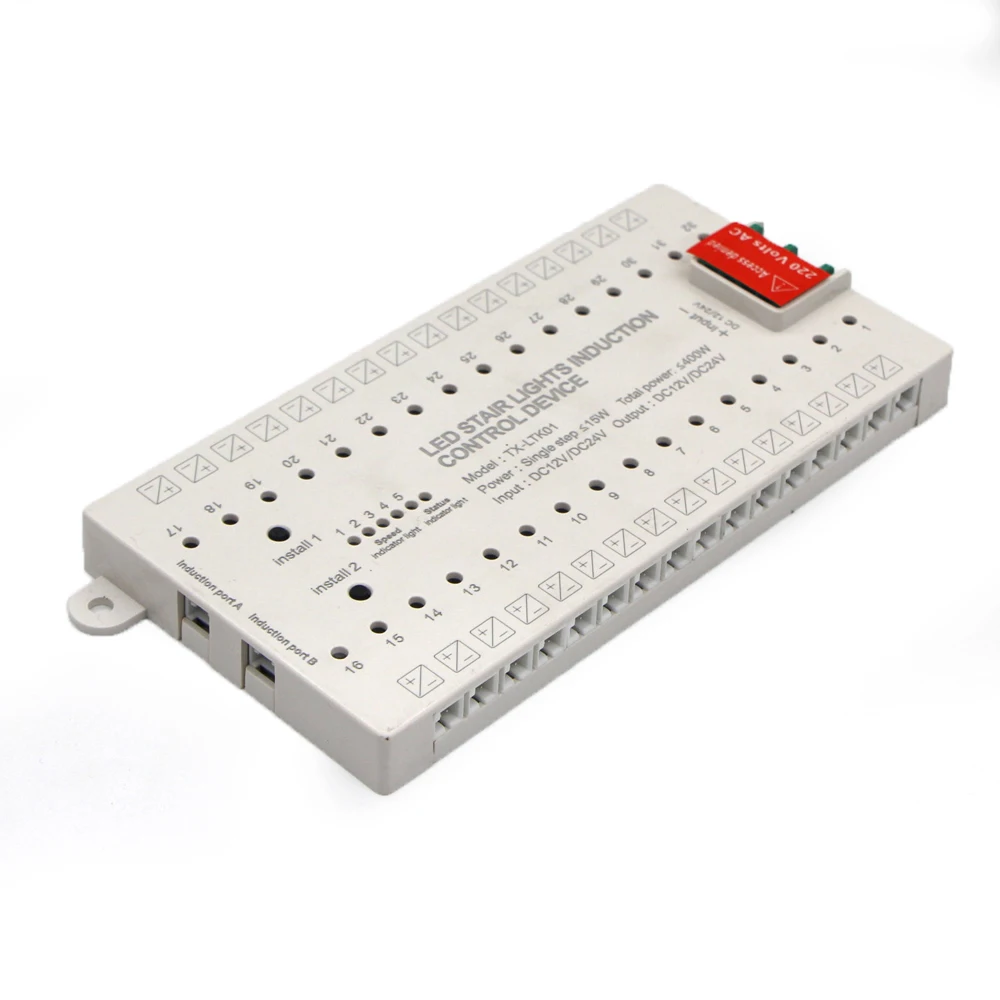 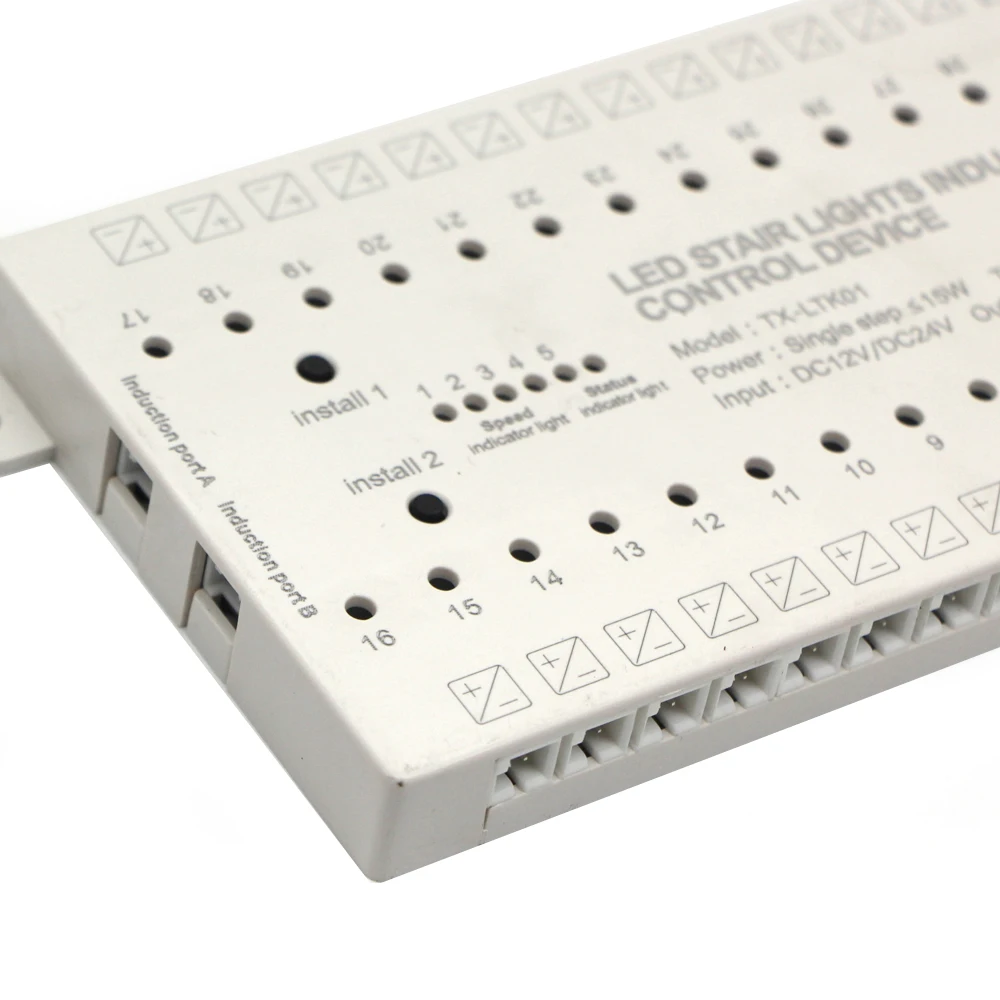 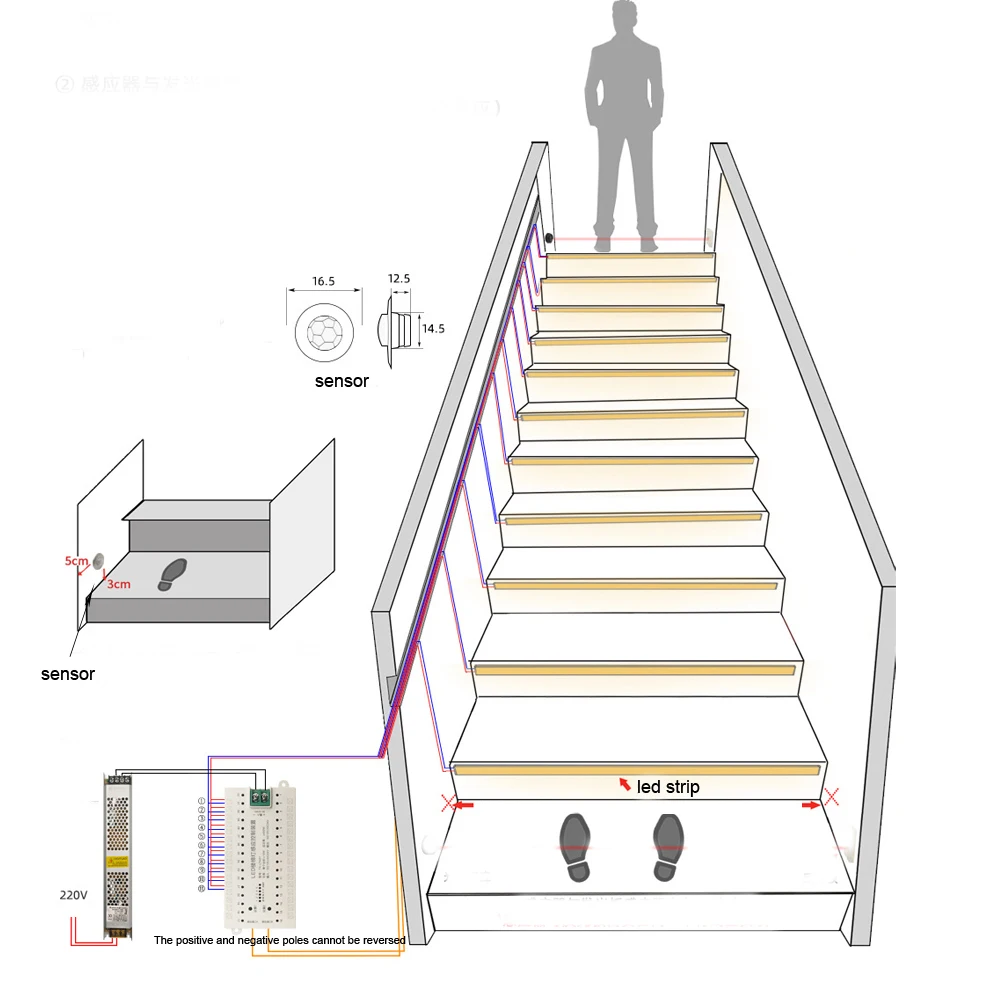  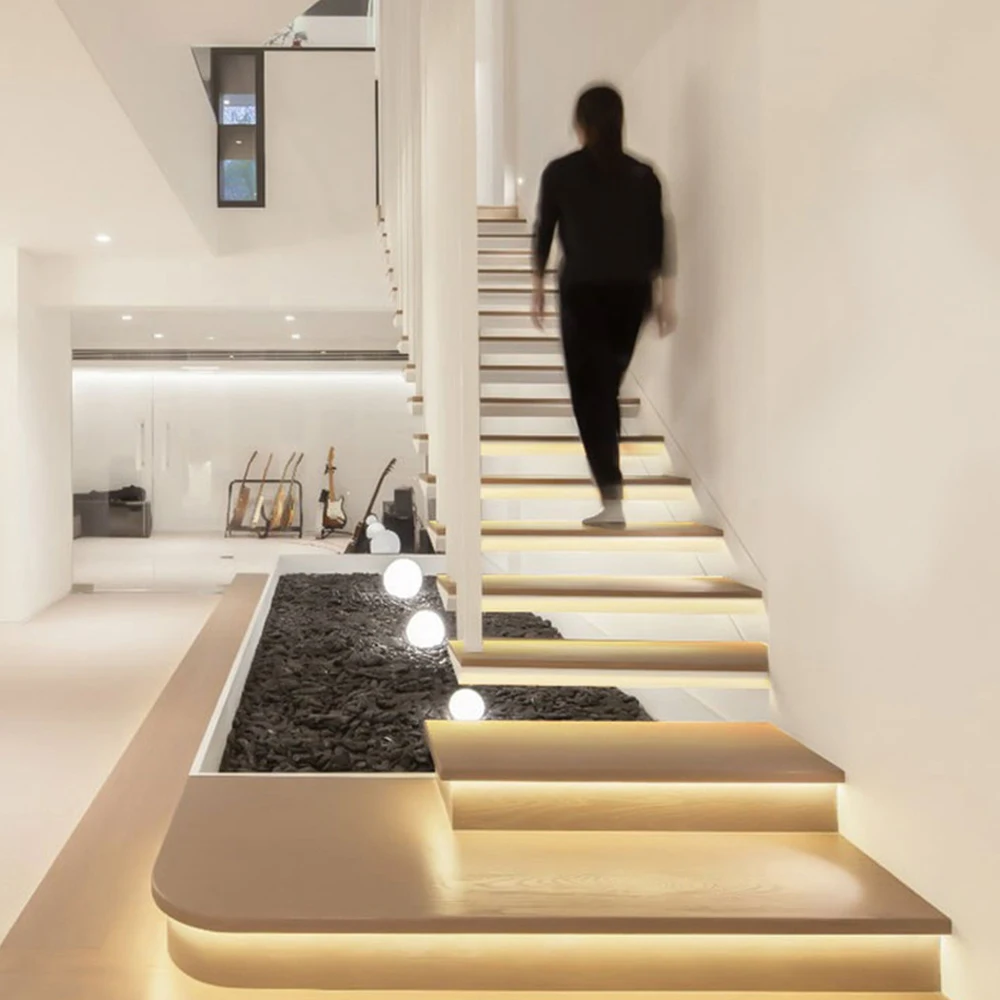 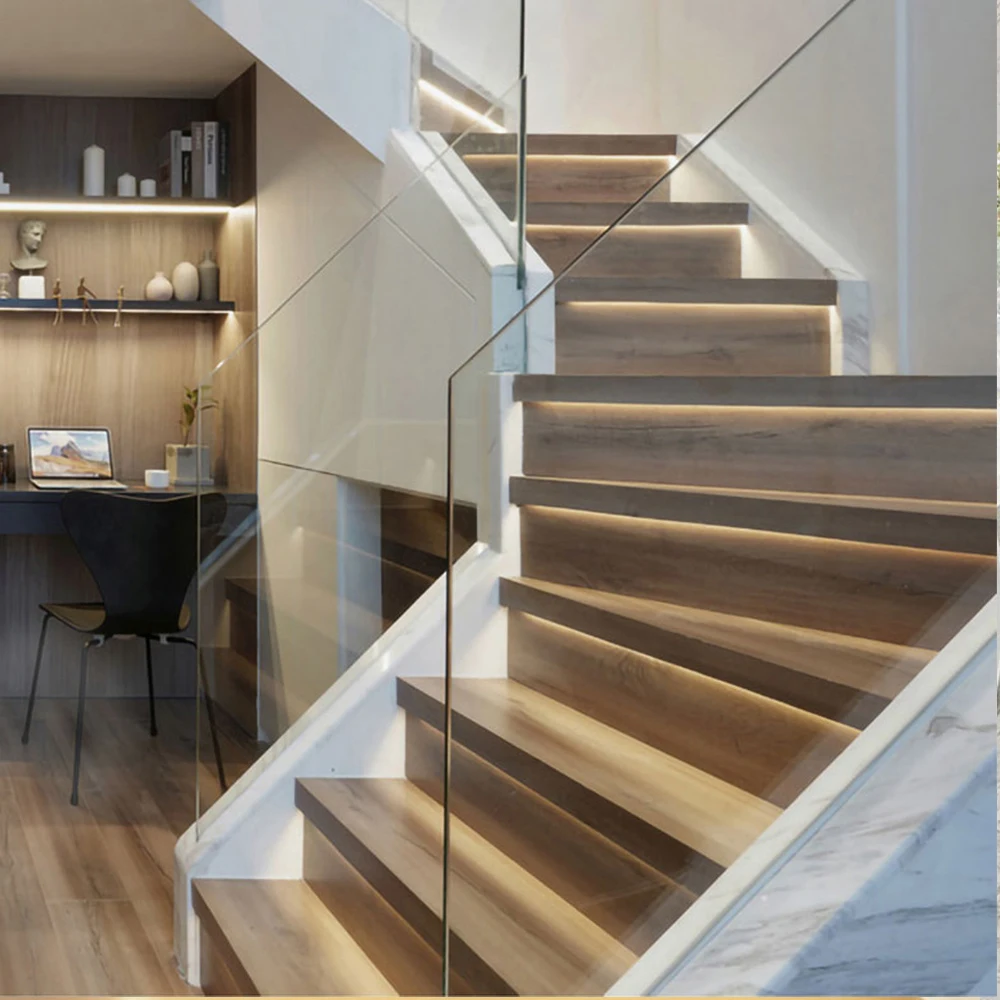 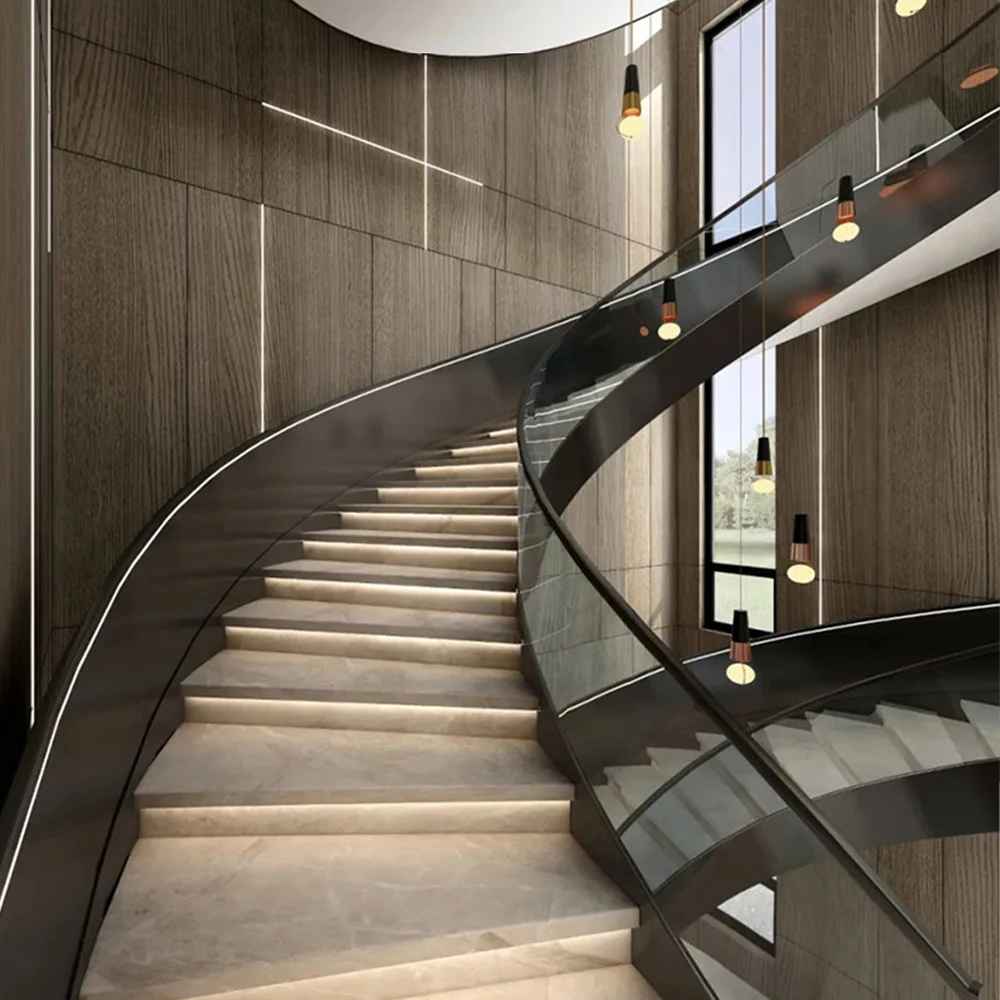 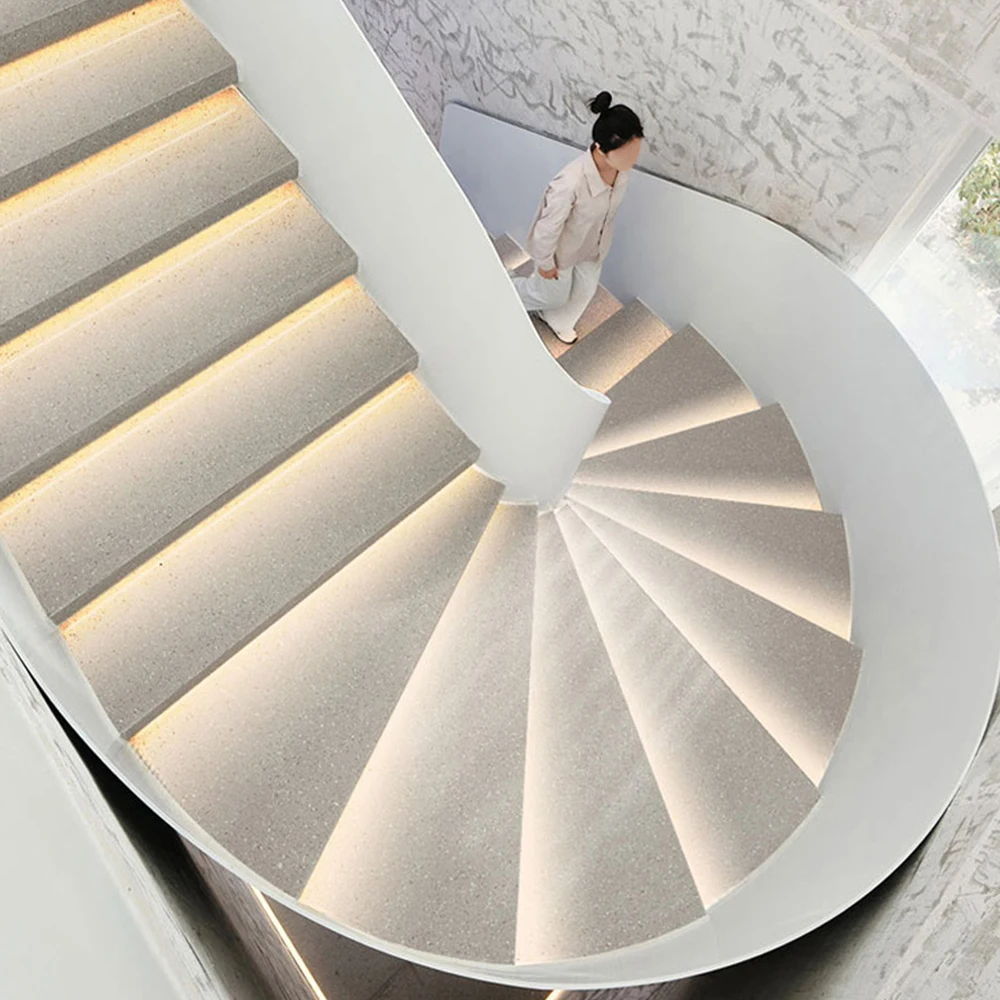
|
|
|
|
|


 배송기간
배송기간