|
|
     aHR0cDovL2ZyZWVzaGlwLmNvLmty aHR0cDovL2ZyZWVzaGlwLmNvLmty
- 스마트 기기: YES
- 전류: 10A
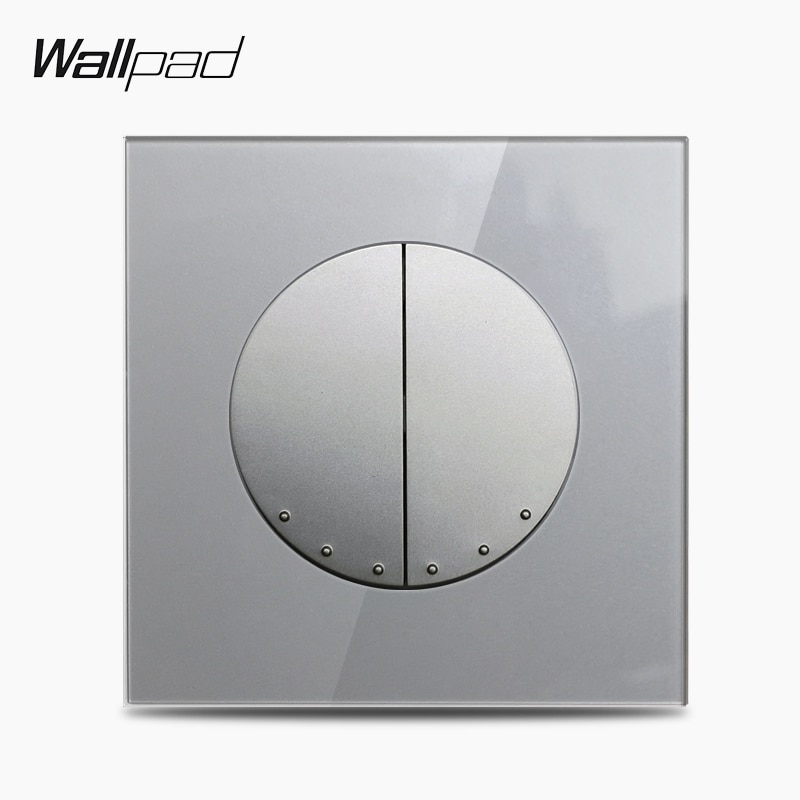
- 재료: 아크릴
- 특징: Smart
- 스위치 종류: 터치 On/Off 스위치
- 브랜드 이름: FROGBRO
- 품목 유형: 스위치
- 근원: CN (정품)
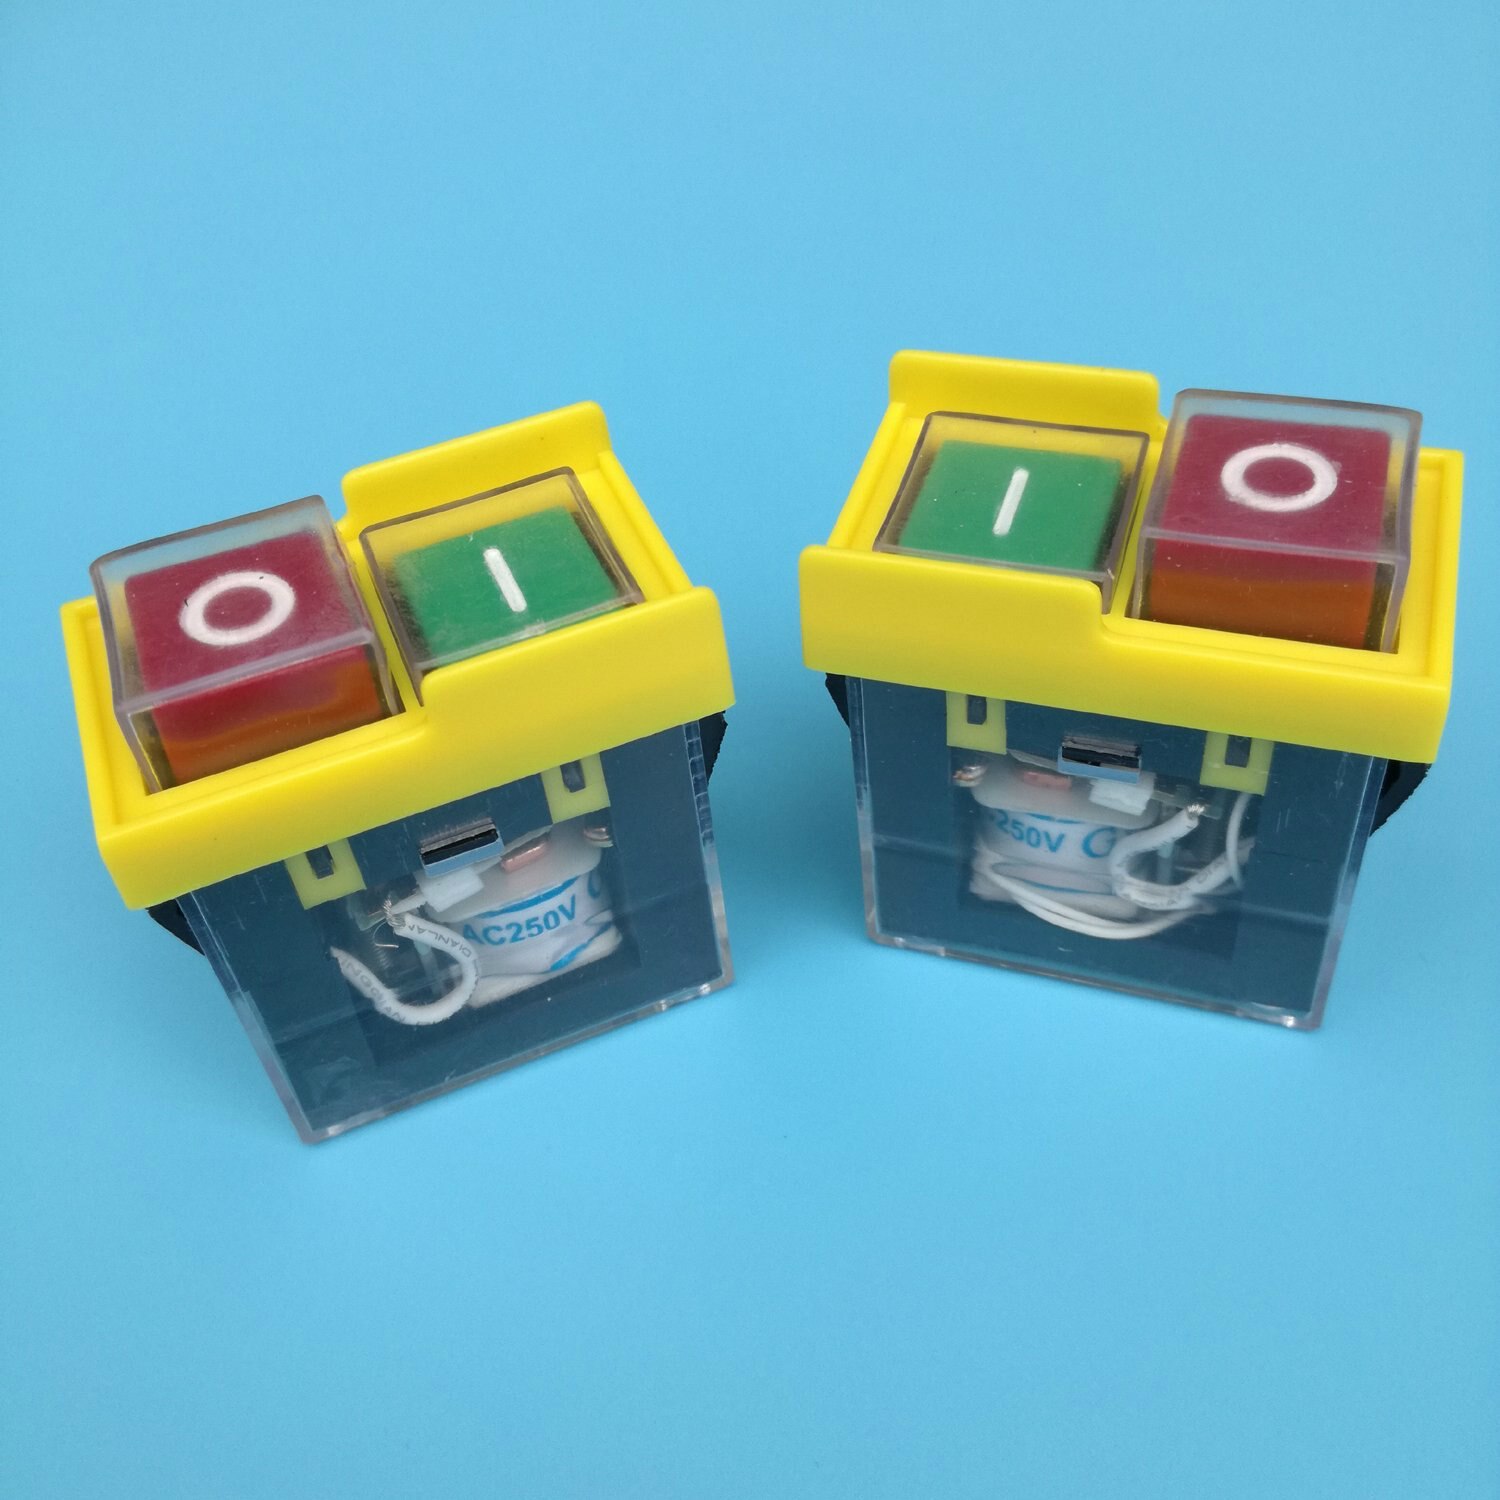
- Rated power: AC110-220V
- Rated frequency: 50-60Hz
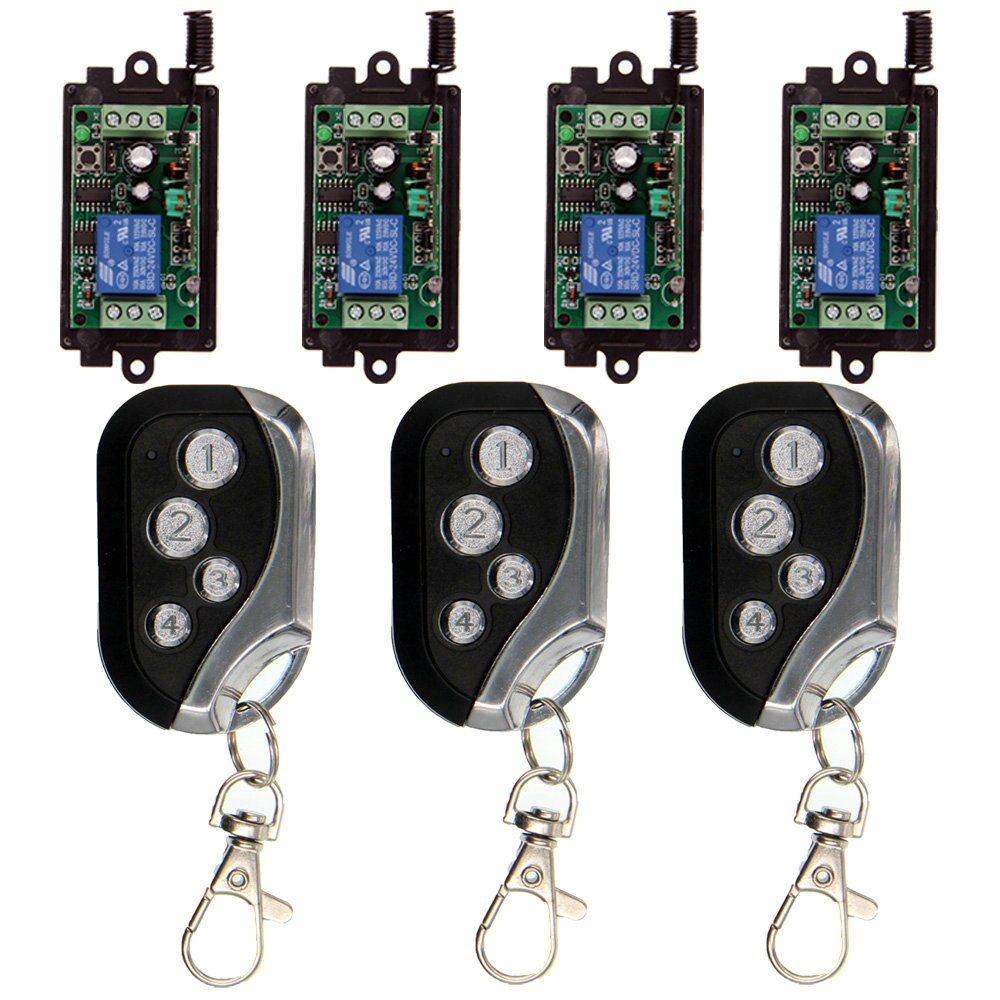
- Function: Voice control, Remote control
- Mechanical life: 100000
- Operating temperature: -20~55℃
- Smart switch: interruptor inteligente alexa
- kasa smart switch: wifi switches for lights
- alexa switch: smart switch google home
- kasa homekit: homekit compatible devices
옵션정보[(771)Beige] [(193)Black] [(193)Black] [(173)파란] [(173)파란] [(365458)브라운] [(365458)브라운] [(350850)금] [(350850)금] [(691)GRAY] [(691)GRAY] [(175)green] [(175)green] [(200002130)아이보리] [(200002130)아이보리]
Cloud Intelligence connection video
Dear friends, please follow the video connection switch below, if you still have problems, please contact our customer service staff, Have a nice day!
Attention
The product can use Cloud Intelligence APP
Scan the QR code below to download APP
product information
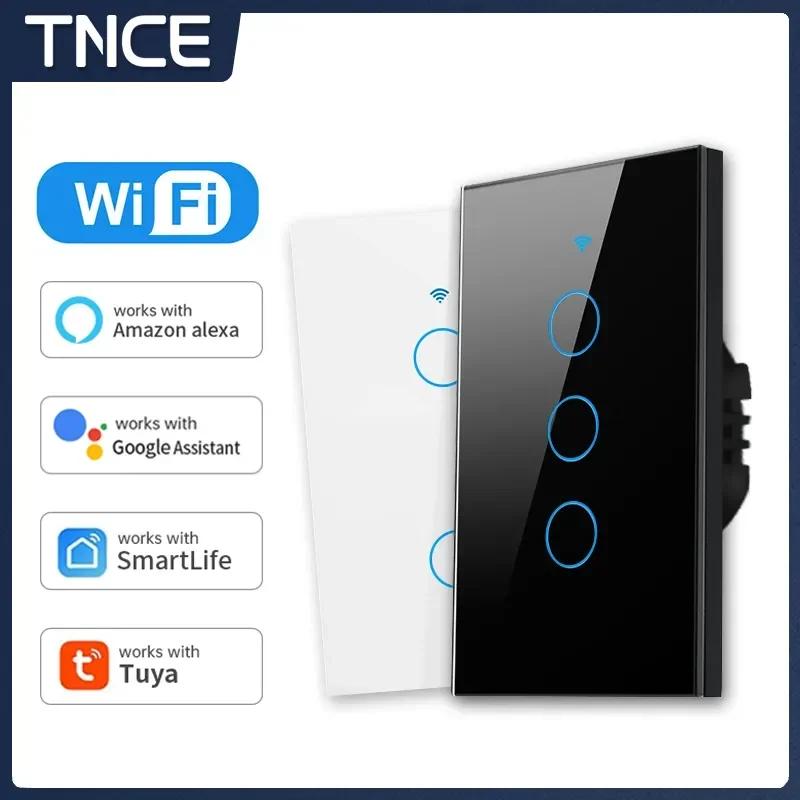
product name:Smart WIFI touch switch
size:Type 86/86mm*86mm
colour:Classic black/simple white
Material:Tempered glass/flame retardant PC
specification:National standard/European standard
Indicator light:Ring LED soft light indicator
Number of control channels:One open / two open / three open
Voltage:110V-250V
Load current:10A MAX
Output Power: 2500W MAX
Instructions for use
APP Control Mode
1. Scan the Qr Code on your phone, or search for "Cloud Intelligence" in the APP market, download the APP and sign up
2. Install the equipment, make it electrify, can use normally, long press any key of the equipment to light with flashing, enter Distribution Network State (Fast Flicker: Bluetooth-Config, SlowFlicker: Smart-Config)
3. Open the "Cloud Intelience" APP, enter the home page, click “+"in the upper right corner to automatically discover the device, or click to add manually and select "obbo Smart Switch"
4. According to the interface prompt, enter the password of the h?me2.4G wireless network, the device will connect to the wireless network
5. After setting the device name and location of the room, the device is added successfully
6. Once added scessfullly, the device can be controlled
Intelligent Speaker Voice Control
Amazon alexa
1. Bind device: bind the device through the "Cloud lntelligence" APP, add it to the device list on the home page, and you can rename it, such as "My Smart Switch"
2. Tum on the "Cloud intelligence" Skill, you need to have an Amazon Echo speaker, then search for “Cloud Intelligence" the skills section of the Alexa APP and Click "Enable"
3. Link an account: enter the account name and password of the "Cloud Intelligence" APP to associate "Cloud Intelligence" with "Alexa"
4. Voice control device: after assoclation, voice control can be performed on the device bound to "Cloud Intelligence APP
Google Assistant
1. Bind device: bind the device through the "Cloud Intelligence" APP, add it to the device list on the home page, and you can rename it, such as "My Smart Switch"
2. Tum on the "Cloud ltelllince skill: you need to have ?Google Home speaker, and then search "Cloud Intelligence" in the Home Control of Google Home (or Google Assistant)APP
3. Link an account: enter the account and password of the "Cloud Intelligence" APP to associate "Cloud Intelligence" with "Google Assistant"
4. Voice control device: after association, voice control can be performed on the device bound to "Cloud Intelligence`”APP
Product real shot pictures
Mobile APP connection page
|
|
|
|
|


 배송기간
배송기간