|
|
     aHR0cDovL2ZyZWVzaGlwLmNvLmty aHR0cDovL2ZyZWVzaGlwLmNvLmty
- 사용법: 다기능
- 이론: 디지털 방식으로
- 모델 번호: Digital Timer
- 유형: 소형
- 브랜드 이름: OOTDTY
- 원산지: 중국
- Product Weight: DC 40g AC 50g
- Opening Size: 40MMx74MM
- Current: DC Max 10A AC Max 5A
- Product Name: Digital Display Time Relay
- Power Supply Voltage: DC 5V 12V 24V AC 220V
- Timing Range: Minimum 0.01 Second Maximum 999 Minutes
- Range Selection: 0.01 Second, 0.1 Second, 1 Second, 1 Minute
옵션정보[(350686)AC 110V-220] [(350850)5V] [(350850)5V] [(350852)12V] [(350852)12V] [(350853)24V] [(350853)24V]
설명:
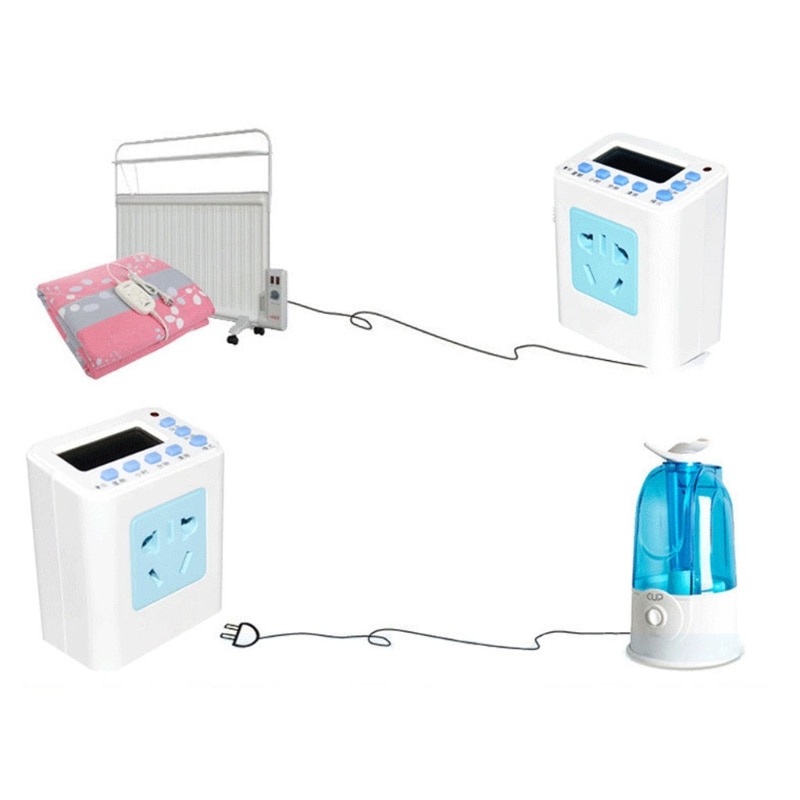
DC 5V 12V 24V AC 110V 220V 디지털 시간 지연 릴레이 사이클 타이머 제어 스위치 시간 조정 가능한 타이밍 릴레이
Specifications:
Product Name: Digital Display Relay
Power Supply Voltage: 5V 12V 24V AC 220V
Range Selection: 0.01 Second, 0.1 Second, 1 Second, 1 Minute
Timing Range: Minimum 0.01 Second Maximum 999 Minutes
Product Weight: 40g AC 50g
Opening Size: 40MM*74MM
Current: Max 10A AC Max 5A
Note:
No retail package.
Transition: 1cm=10mm=0.39inch.
Please allow 1-2cm error due to manual measurement. pls make sure you do not mind before you bid.
Due to the difference between different monitors, the picture may not reflect the actual color of the item. Thank you!
Package Includes:
1 * Delay for TIME Relay Module
--------------------------
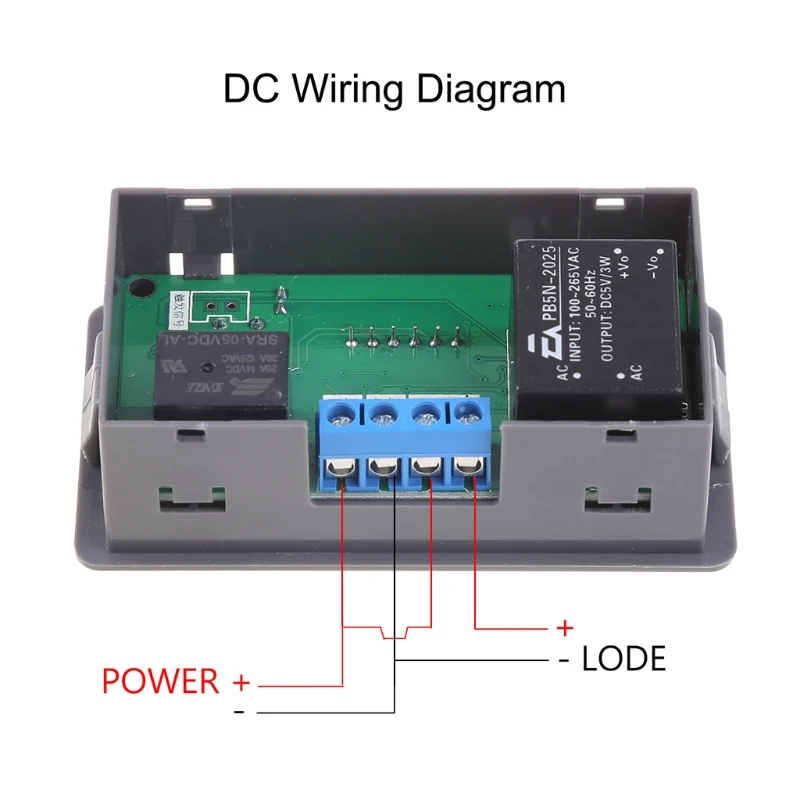
User`s Guide:
This product has 4 buttons, button , button minus, set button, stop or start button.
There are two sets of for TIME T1 and T2 for users to set.
Precautions
1. All parameters of the relay are automatically memorized in 5s,
2. If you need to stop during operation, press the stop button to stop the relay and reset the data. Press the stop button again to trigger again.
3. When the relay finishes normally, press the stop button to trigger the start again.
T1 setting:
Directly press the or minus button to set T1, the data will be automatically memorized 5s after setting, and the timing will start.
T2 for TIME setting:
Short press the setting button, the digital tube flashes, at this for TIME, press the button to increase or decrease to set T2, 5 seconds after the setting is completed, the automatic memory starts to run.
range: automatically switch the range. The default range is seconds. Decrease the number to 0, continue to press the button to decrease, the range will automatically switch to 99.9s; add the number to 999, continue to press the button to increase, the range will automatically switch to 0.0.0
The number format is as follows
X.X X---time range 0.01s
X X.X---time range 0.1s
X X X---time range 1s
X.X.X---time range 1min
For example: set T1=8.88, the controller counts down at 0.01s, T2=8.8.8, the controller counts down at 1 minute.
Working mode setting: 6 working modes for users to set.
Long press the setting for KEY to enter the P-0 parameter, and set the required working mode by pressing the for KEY or minus on the current interface.
P-0: The relay is turned off after a delay of T1, and ends
P-1: The relay is closed after a delay of T1 for TIME and ends
P-2: The relay is closed after a delay of T1, and then opened after a delay of T2, and ends
P-3: The relay opens after a delay of T1 for TIME, then closes after a delay of T2 for TIME, and ends
P-4: The relay is closed after a delay of T1 for TIME, and then opened after a delay of T2 for TIME, loop
P-5: The relay opens after a delay of T1 for TIME, and then closes after a delay of T2 for TIME, and
Typical application: First, let the relay open after a delay of 4.05s, then close after a delay of 10 minutes, and end
Firstly set the for TIME, T1=4.05 T2=0.1.0 Secondly set the working mode P-3, it will be automatically memorized 5s after setting, and start to run.
|
|
|
|
|


 배송기간
배송기간