|
|
    aHR0cDovL2ZyZWVzaGlwLmNvLmty aHR0cDovL2ZyZWVzaGlwLmNvLmty옵션정보[(350686)c245 Handle] [(350853)t12 Handle] [(350853)t12 Handle] [(10)3D print housing] [(10)3D print housing] [(29)Finished host] [(29)Finished host] [(173)3D print housing] [(173)3D print housing] [(175)Kit 1] [(175)Kit 1] [(193)Kit 2] [(193)Kit 2] [(366)Kit 3] [(366)Kit 3]
Kit list:
Kit 1: 2.4-inch LCD panel control board (encoder)
Kit 2: 2.4-inch LCD control panel (key)
Kit 3: 2.4-inch LCD screen control board (key / encoder)
2 sets of UI can switch freely (setting - other settings - display mode - selection)
The operation mode supports encoder and key
Operation method: click the encoder to switch the working mode (step mode and preset mode switch back and forth), and rotate the encoder left and right for addition and subtraction;
Menu operation: long press the encoder to enter the menu, select the rotary encoder to operate up and down, short press the encoder to select the menu, short press the encoder again to save, long press to return to the previous layer, and only exit!
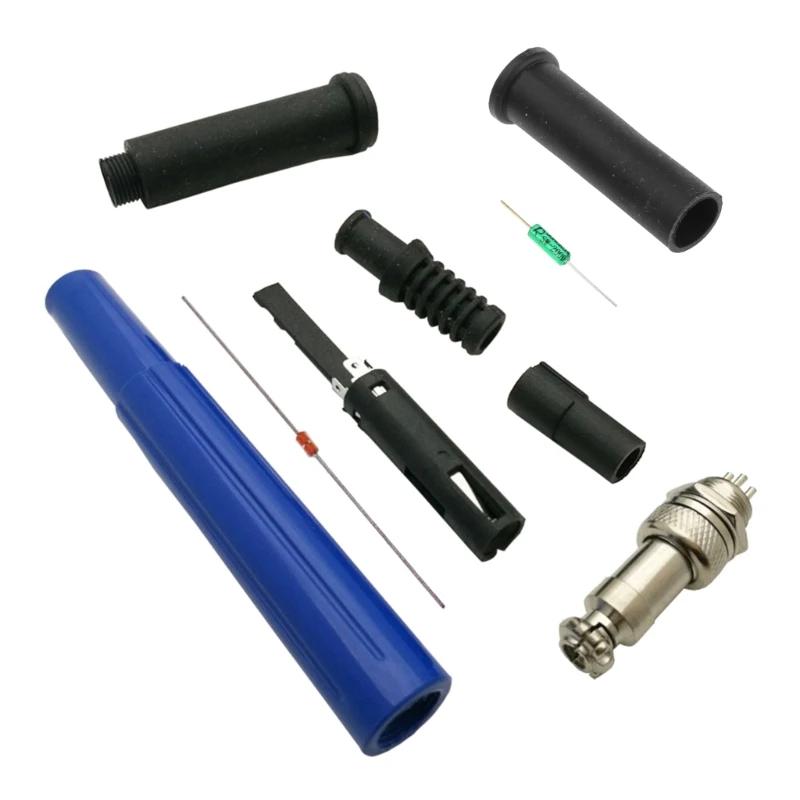
This product has been tested before delivery. After receiving the goods, please use the test clamp for electrical test. After the test is satisfactory, carry out welding and assembly!
Reminder:
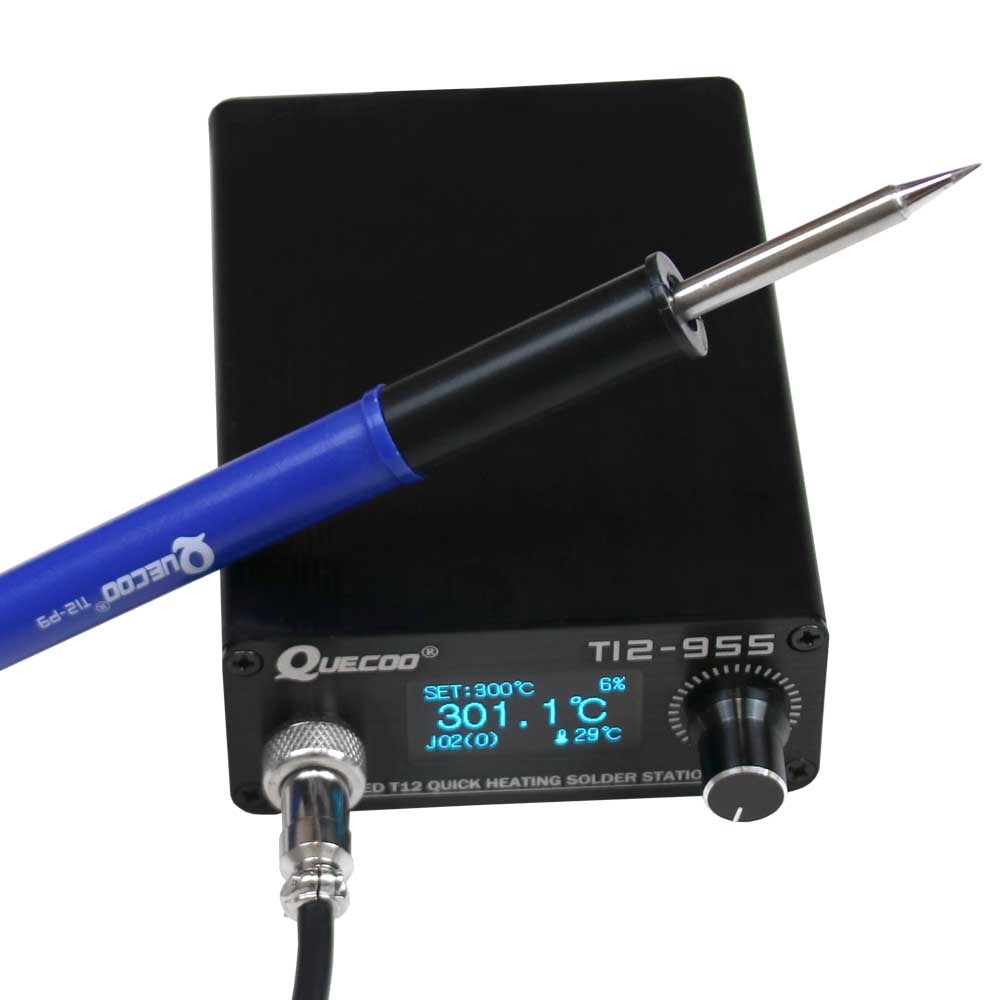
T12 please use 24v3a power supply (12v-26v is OK, 24V voltage is the best)
245please use 24v6a
210 please use 12v6a
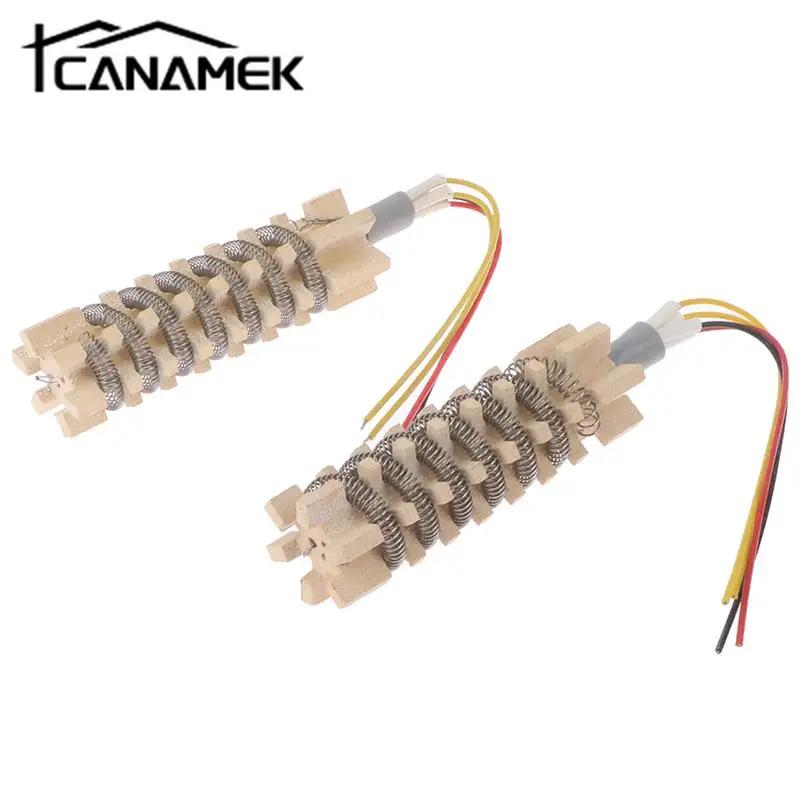
936 is only fitted with at two-wire 936 heating core
Special reminder: system setting - control mode - Automatic When: T12 / jbc245 / 210 / 936 automatic identification is supported; However, some functions such as PID parameters and welding nozzle selection in the setting cannot be adjusted manually. The system adjusts relevant parameters according to T12 / jbc245 / 210 / 936!
System settings - control mode - Manual When: all system parameters are manually adjusted!


|
|
|
|
|


 배송기간
배송기간