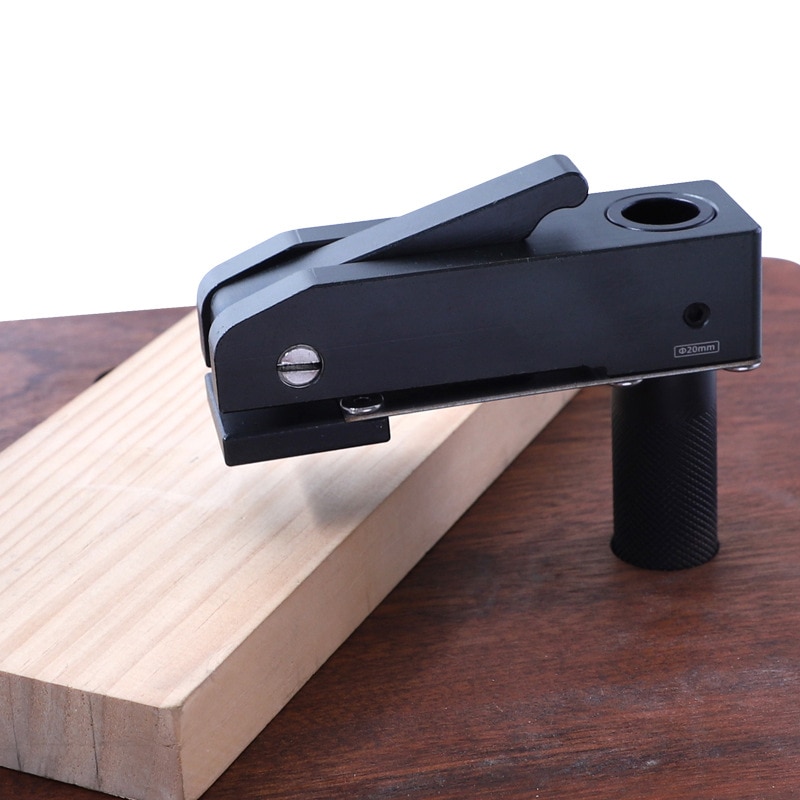
3D Printer Upgrade Kit Dual Z Axes Stepper Motor Kit with T8 Lead Screw Bearing Guide

Feature:
1. APPLICABLE MODELS: Dual Z axes lead screw module kit, suitable for Ender 3, for Ender 3 Pro, for Ender 3 V2 3D printers, help improve printer accuracy.
2. SIMPLE OPERATION: The kit is simple in structure and easy to install, just plug in the middle power supply on the stepper motor wiring harness that comes with the kit.
3. EASY TO ADJUST: The timing belt tensioner is made of aluminum alloy, which is light in weight and wear resistant, and can easily adjust the belt tension.
4. OTHER ACCESSORIES: The double Z structure runs smoothly, uses the original T8 to lead out 2MM screws, and adopts the aluminum coupling and the original 42 stepper motor.
5. FOR 3D PRINTER: Excellent materials and meticulous workmanship make this upgrade kit a long lasting, which is common accessory for 3D printers.
Specification:
Item Type: 3D Printer Z Axes Kit
Color: Black
Product Material: Aluminum Alloy, Stainless Steel, ABS
Screw: T8 Lead 2mm Screw
Lead Screw Length: Approx. 365mm / 14.4in
Adaptation: For Ender 3, for Ender 3 Pro, for Ender 3 V2 3D Printer
Package List:
2 x Screw Bearing Guide
2 x Power Bracket
1 x Coupler
1 x Z Axes Bracket
1 x Stepper Cable
1 x Z Axes Motor Bracket
1 x Lead Screw
1 x Motor
15 x Nut Caps
17 x Nuts
3 x Solenoid
3 x Hex Wrench
1 x Wrench
1 x Screwdriver
1 x Screwdriver Adapter
1 x User Manual
How to use: 1. Turn off the printer, unplug the power cord, and use a hex wrench to remove the 2 screws that secure the power supply. Remove the power supply.
2. Install the coupler on the stepper motor and tighten the screws. Fasten the motor to the aluminum using the socket head cap screws and the Z axes motor bracket.
3. Remove all the screws of the sheet metal pulley on the right side of the X axes.
4. Fix the Z axes sheet metal with long screws and install it on the right sheet metal of the X axes. Thread the T8 screw into the coupler nut, then tighten the coupler screw.
5. Install the dual Z stepper cable to the motherboard and connect the 2 Z motors.
6. Install the screw and boat nut on the power supply bracket to install the power supply.
7. Place the lead screw bearing guide on the left and right sides of the X axes aluminum , and let the Z axes rise to the highest position. If one side is not flat, turn the corresponding coupler clockwise.
8. Install the lead screw bearing guide and tighten the screws, paying attention to the alignment position of the bracket.


 배송기간
배송기간