aHR0cDovL2ZyZWVzaGlwLmNvLmty Item specifics
- Gross Power:
- 450W
- Brand Name:
- Upart
- Color & Page:
- Multicolor
- Condition:
- New
- Usage:
- Label Printer
- Dimensions(L*W*H):
- 33x 17x 19cm
- Model Number:
- ST-105
- Type:
- Heat Transfer
- Plate Type:
- cup heat transfer machine
- Automatic Grade:
- manual
- Machine name :
- cup heat transfer machine
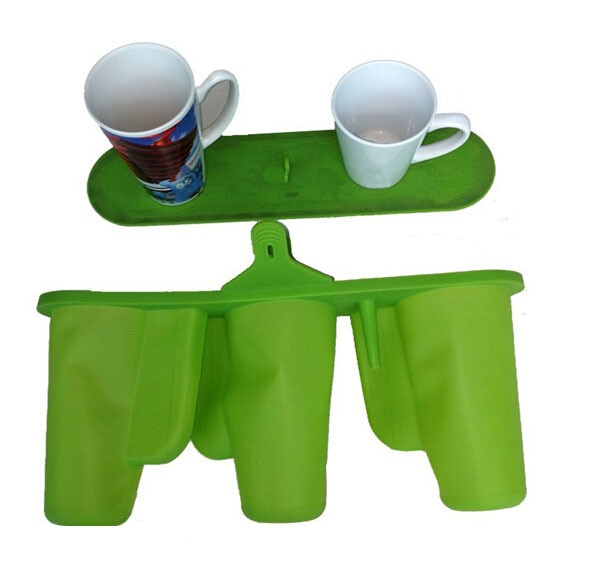
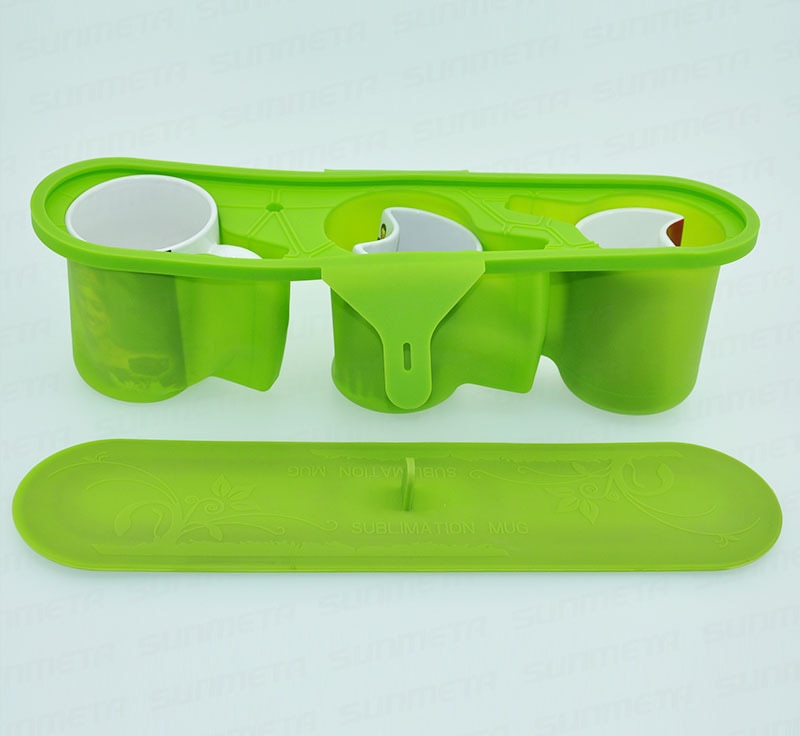
- size of cups:
- 6.5-9cm
- heat time:
- 3-4 minis
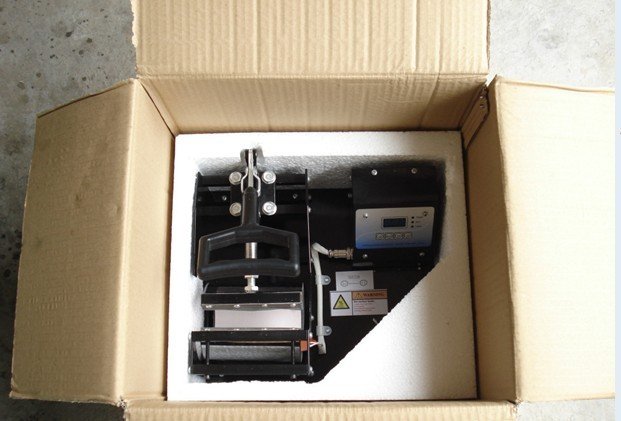
Packaging Details
- Unit Type:
- piece
- Package Weight:
- 4.500kg (9.92lb.)
- Package Size:
- 33cm x 17cm x 19cm (12.99in x 6.69in x 7.48in)
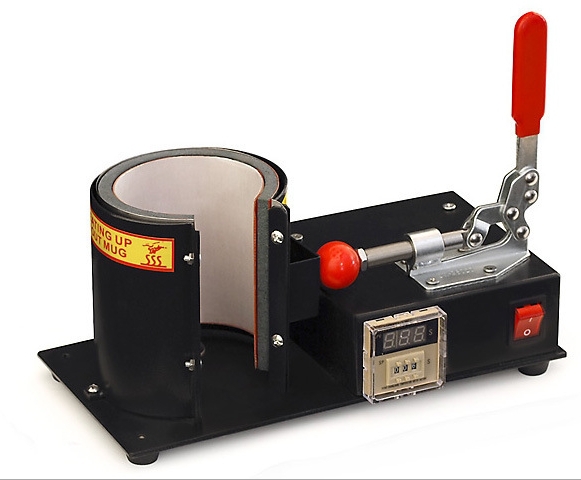
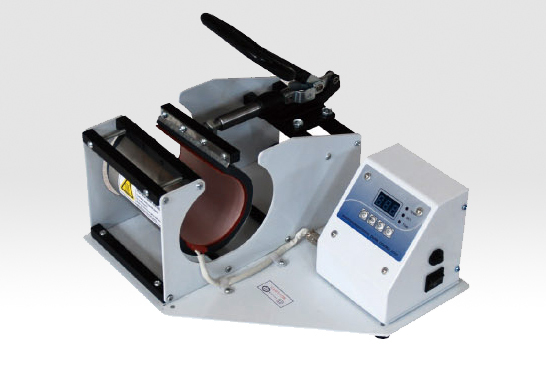
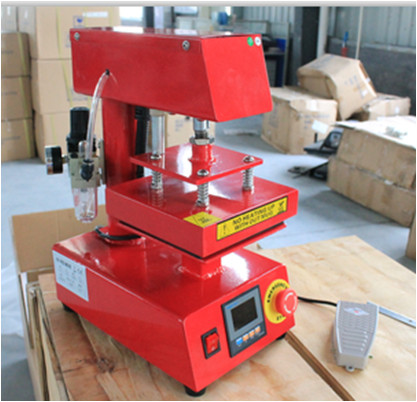
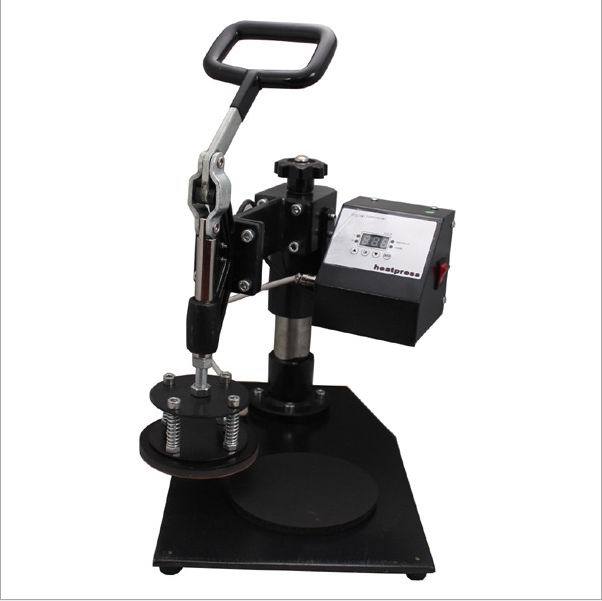
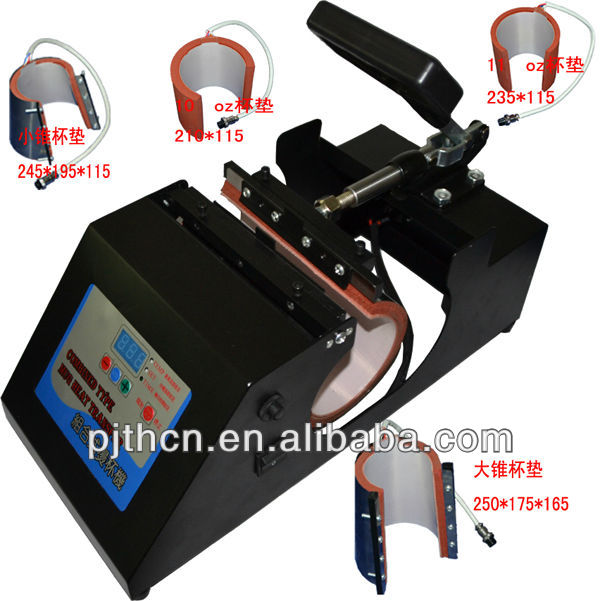
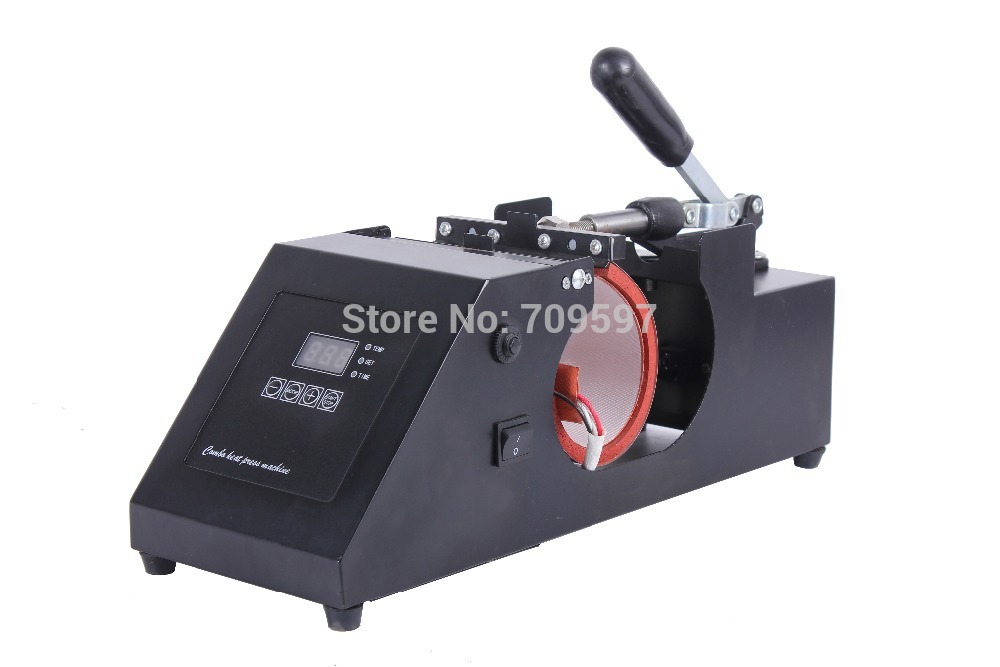
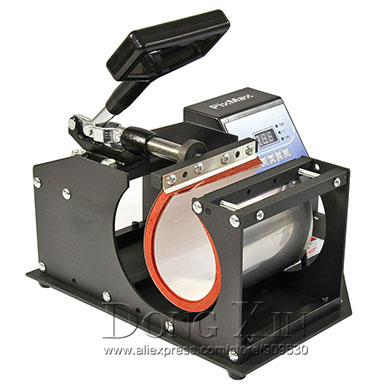
cup heat transfer machine for sale
Cup printing machine Parameter:
1 Working Voltage: 110V/ 220V
2 Power: 450w
3 Cup scope: 6.5-9cm
4 Cup Height: Within 10cm
5 Heating Time: 3-4 minis
6 Weight: 4kg
7 Package size: 33x 17x 19cm
8 Integrated temperature control, digital countdown, beep alarm sound, pressure adjustable, automatic temperature control
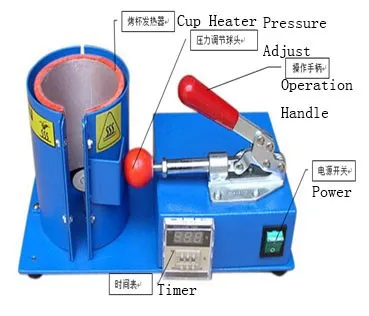
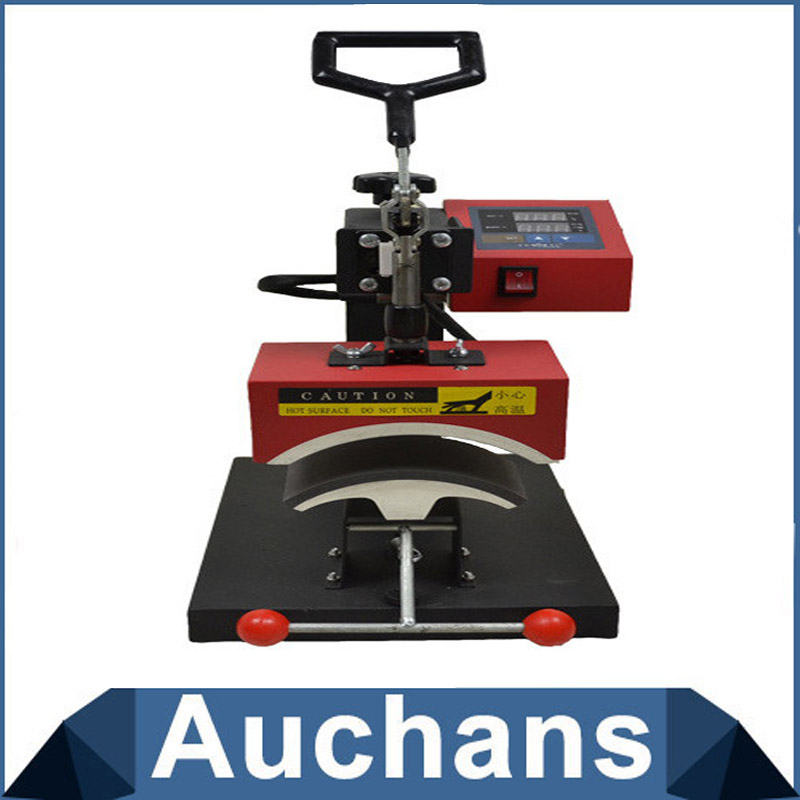
cup heat transfer machine Feacture:
1 electronic digital time display, automatic temperature;
2. The high temperature silicone pad heat evenly;
3. Small, portable, small footprint;
4. Easy pressure adjustment.
Purpose:
This machine can be transfered any color color, portrait photos, landscape design and other baked into the cups, particularly suitable for advertising, gifts, promotional activities, as well as personalized items, and art appreciation and applicability in one .
Instructions:
1. Before transferring heat, according to the cup size to adjust the pressure (to adjust the pressure adjustment nut). Plug in the power, the pressure can not be too large, otherwise easily damage the machine.
2. Place cup machine setup time 200-300 seconds; cut the printed paper is good, attached to the cup, slightly high temperature tape at both ends fixed, will stick better on transfer paper cup machine on pressing, turn on the power switch, the machine began to heat transfer cup. Remember: Do not empty burning baking cup machine.
3. When the set time arrives, the alarm alerts, turn off the power switch, stopping for about 10 seconds, release the quick-clip handle, remove the cup thrown off the transfer paper. A beautiful and personalized image-making as well.
4. This machine can put into a unuse cup to prectect the mat do not modification;
5. Note: For security reasons, the power supply must meet a protective ground wire single-phase three-wire power supply
6. Pressure is not too large, otherwise it will cause distortion handle pressure

Report: Printer setup instructions
1. EPSON PHOTO, COLOR of the cases the printer, as an example in PHOTOSHOP6.0 in:
2. Click: Print Options - Page Setup - Printer Properties
3. Click its "Properties" pop Properties panel, click the "utility" option, click "Nozzle Check" to check the print head is clogged.
4. If "Print Test line" is not normal, click on the "print head cleaning", the first for cleaning the print head.
5. After cleaning, print properly, return to the "main window" in the main window, the "media type" select "Photo Quality Ink Jet paper" or "photo paper" and click "Customize" then "Advanced" press New box, print quality column, select "Photo -1440dpi" or higher, the mode selection "photo - realistic" remaining items by default, and finally "OK".
6. If you turn the finished printed color cast phenomenon can reduce the bias of color can be in the "Advanced" inside.
Machine program:

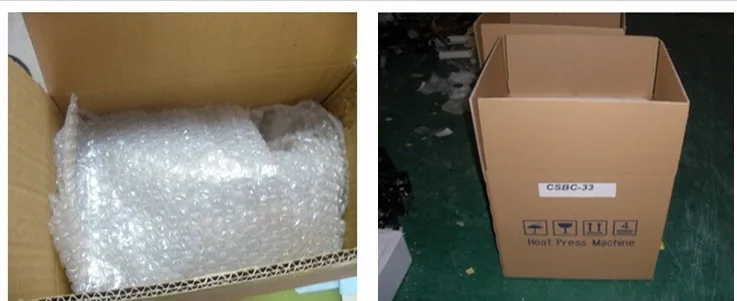
Pacakge:


 배송기간
배송기간